WattPanel-2X Installation Guide for Split-Phase Energy Monitoring
The WattPanel-2X is designed for 120/240V split-phase systems. This guide walks you through everything—from checking compatibility to step-by-step installation—so you can safely set up your energy monitor and start tracking your electricity use in real time.
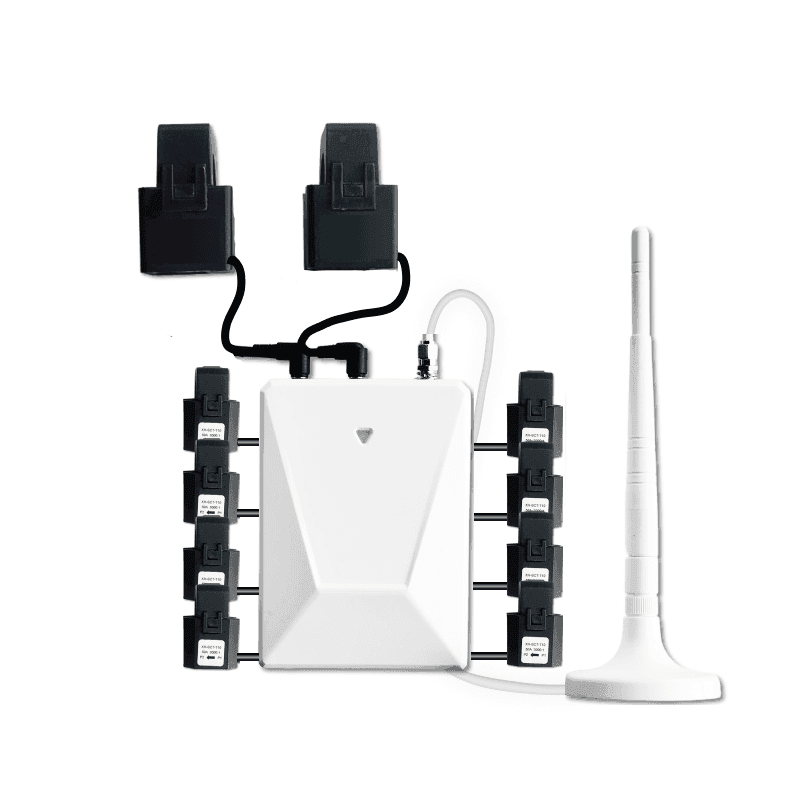
Compatibility and Requirements
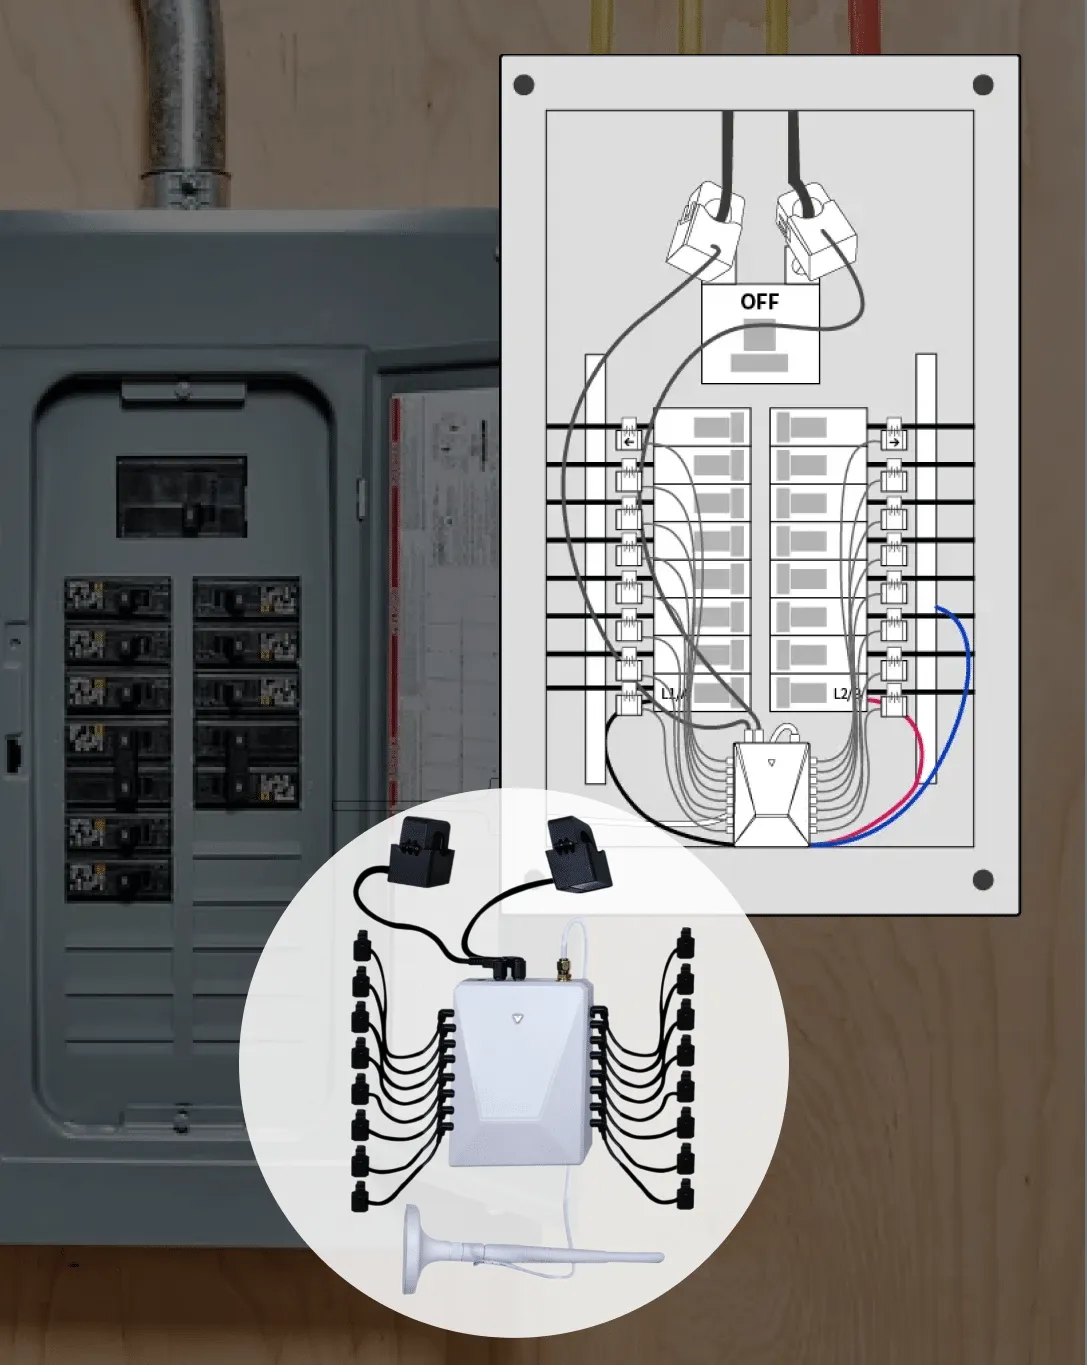
Supported Systems
The WattPanel-2X is designed exclusively for 120/240V split-phase residential systems:
Requirements Before Installing
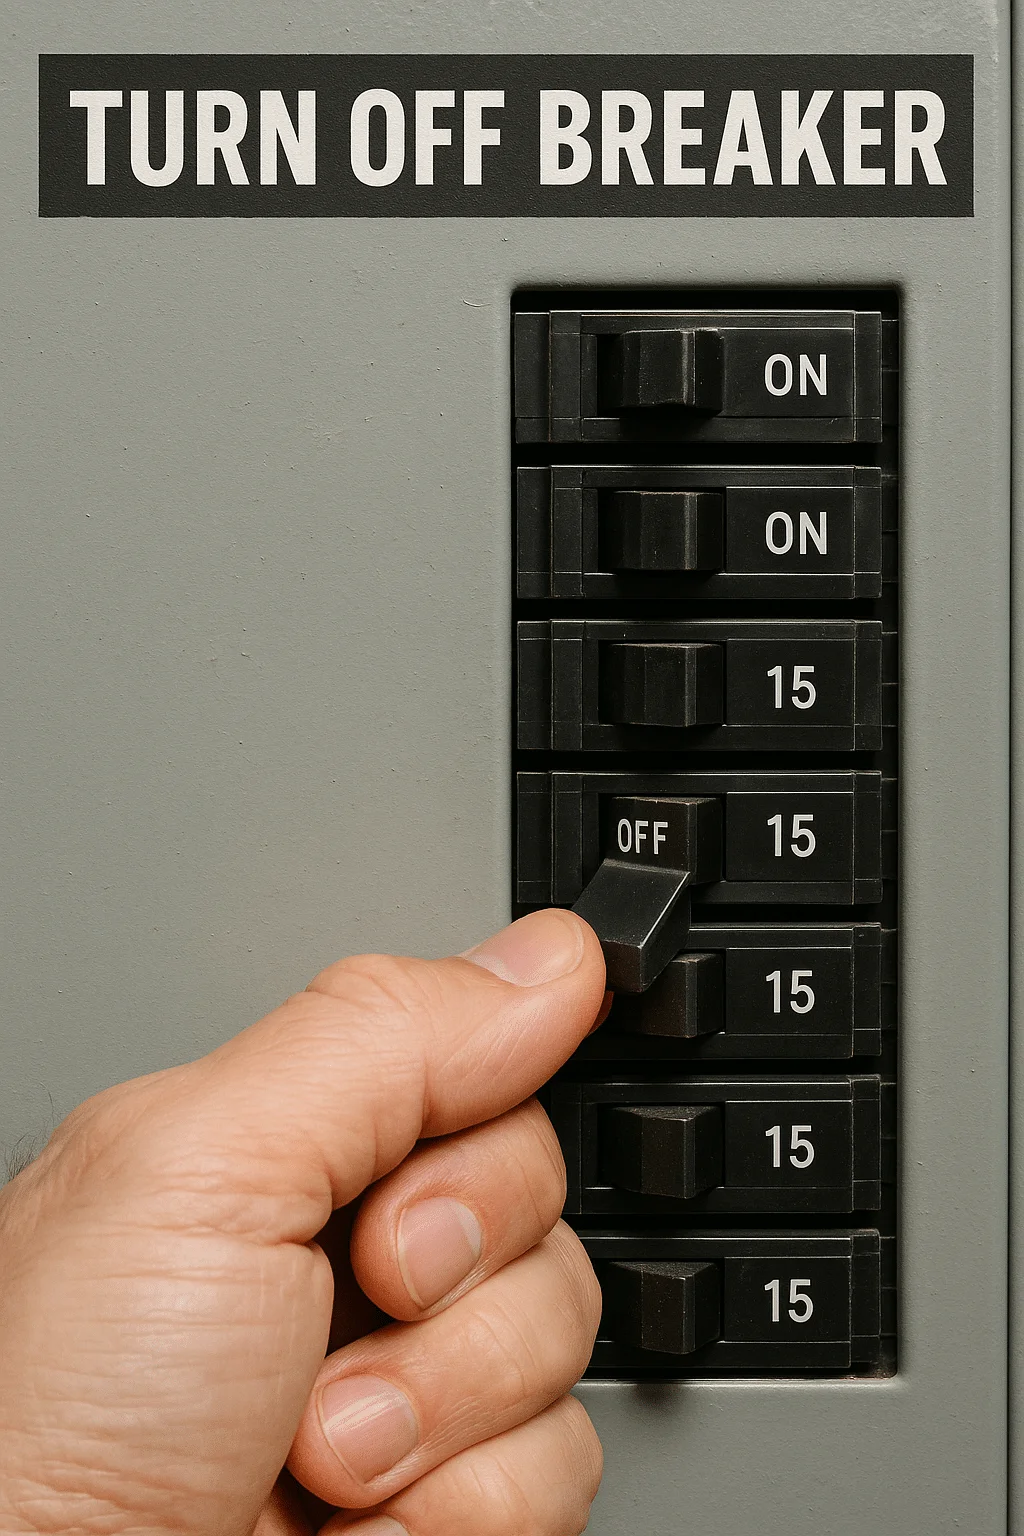
Safety Precautions
Working in an electrical panel is dangerous. Always take precautions.
1.
Turn OFF power: Switch off the main breaker before wiring.
2.
Service mains remain live: Even with breaker off, the thick wires from the meter are always energized. Do not touch them.
3.
Wear PPE: Use insulated gloves, safety glasses, and keep the panel well-lit.
4.
Follow codes: Install per NEC guidelines (NFPA.org) and your local electrical codes.
5.
Hire an electrician: If unsure, do not attempt DIY installation.
Step-by-Step Installation Guide
STEP 1 - Power Down Your Electrical Panel
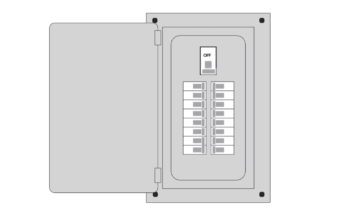
- Switch OFF the main breaker.
- Verify with a voltage tester that power is off at the breakers.
STEP 2 - Mount WattPanel-2X
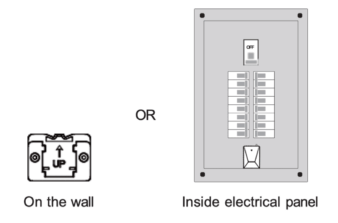
- Place inside the panel if space allows.
- Or use the wall-mount bracket to fix it outside.
- Leave space for CT cables and the antenna.
STEP 3 - Install the External Antenna
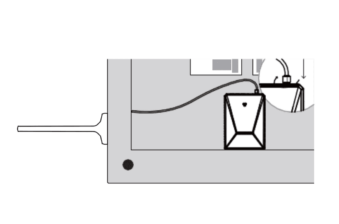
- Screw the antenna onto the connector.
- Route the cable through a knockout if mounted inside.
- Place antenna outside the metal panel to avoid signal loss.
STEP 4 - Connect the Voltage Wires
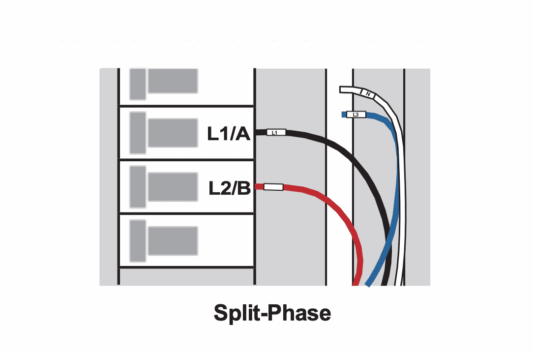
- Insert the power cable into the bottom port until it clicks.
- Wire connections:
- Neutral (white/N) → Neutral bus bar
- L1 (black) → Breaker pole for L1/A
- L2 (red) → Breaker pole for L2/B
- Tighten all connections securely. Loose wires may cause inaccurate readings.
STEP 5 - Clamp the Main CT Sensors
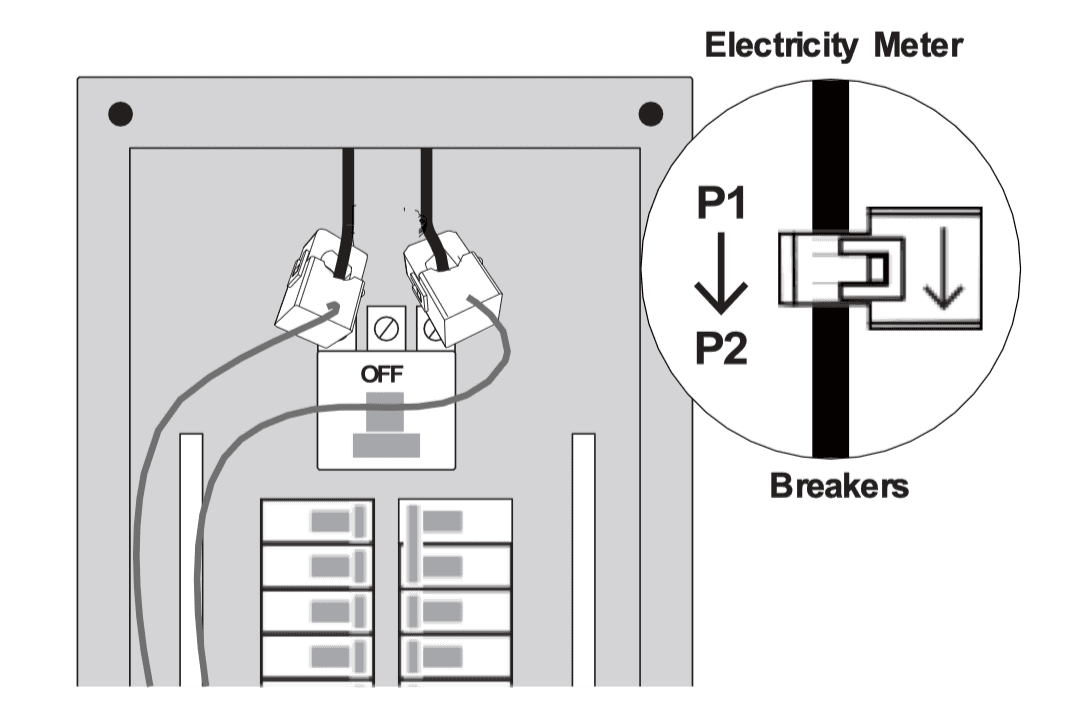
- Open each CT and locate the arrow (P1→P2).
- Clamp one CT around each service conductor.
- Arrows → toward the breakers (load).
- Plug into labeled jacks:
- L1 CT → L1/A
- L2 CT → L2/B
- Solar note: Clamp CTs between the meter and inverter feeds.
STEP 6 - Clamp Sub CTs for Circuits
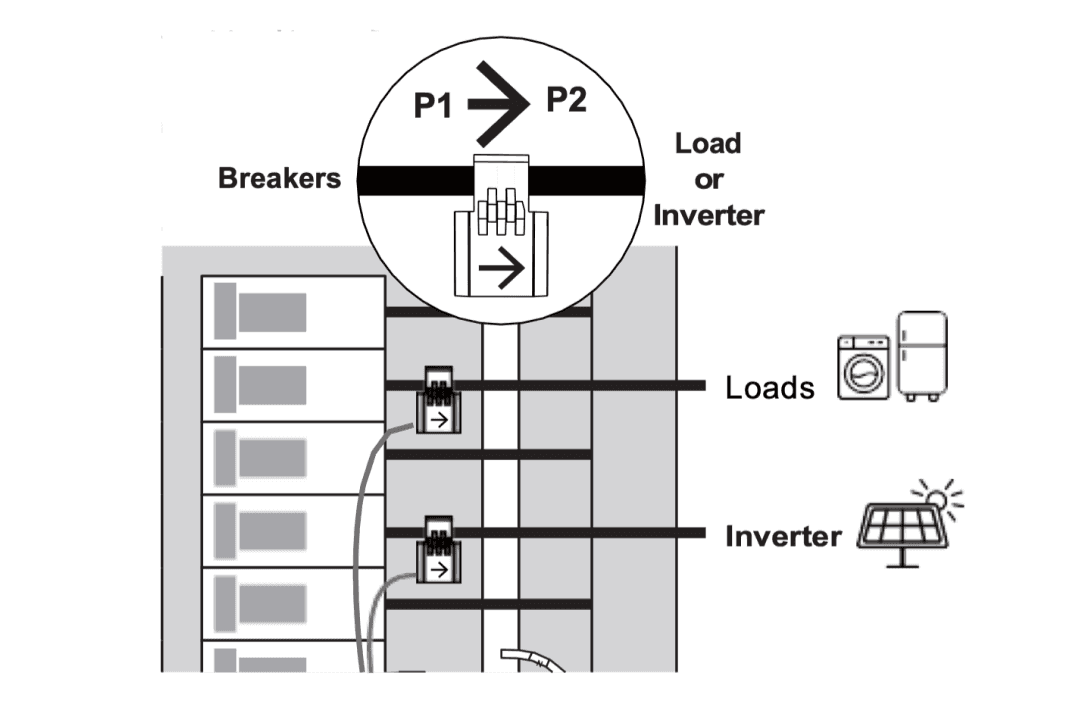
- Clamp sub CTs around circuit wires.).
- Arrows → toward appliance (load).
- Arrows → toward the breakers (load).
- Plug into numbered 2.5mm side ports.
- Note the port numbers to match in the app.
STEP 7 - Restore Power and Pair with App
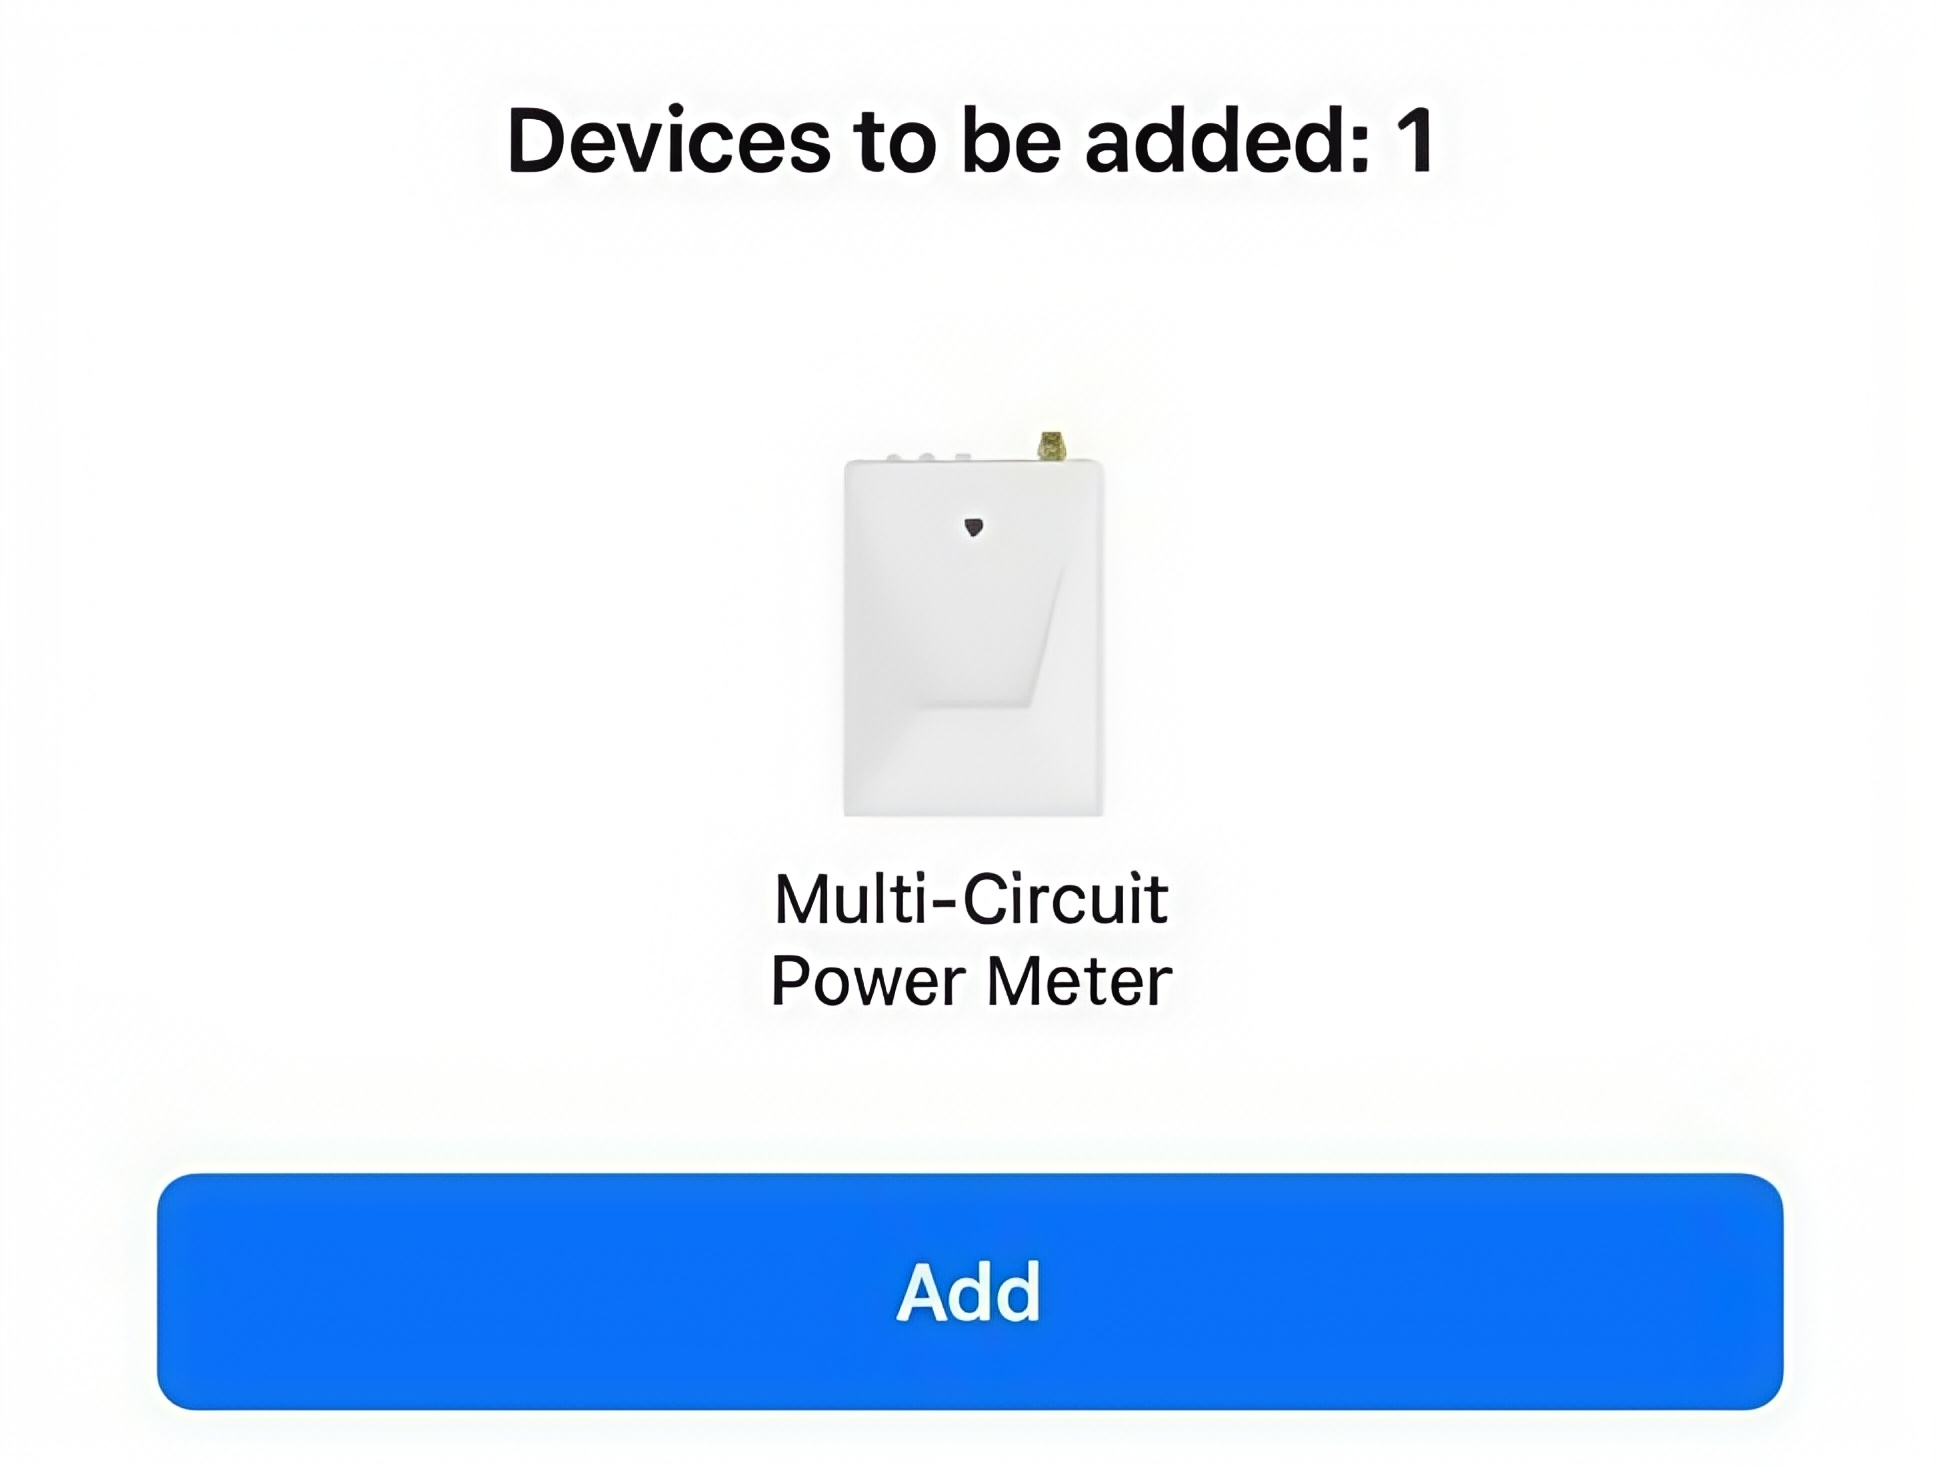
- Switch ON the main breaker.
- LED blinks green → ready for WiFi pairing.
- Open Smart Life app → add device → connect to 2.4GHz WiFi.
- LED solid green = connected.
- If solar shows as usage, flip CTs or adjust circuit phase in the app.
Wiring Diagrams
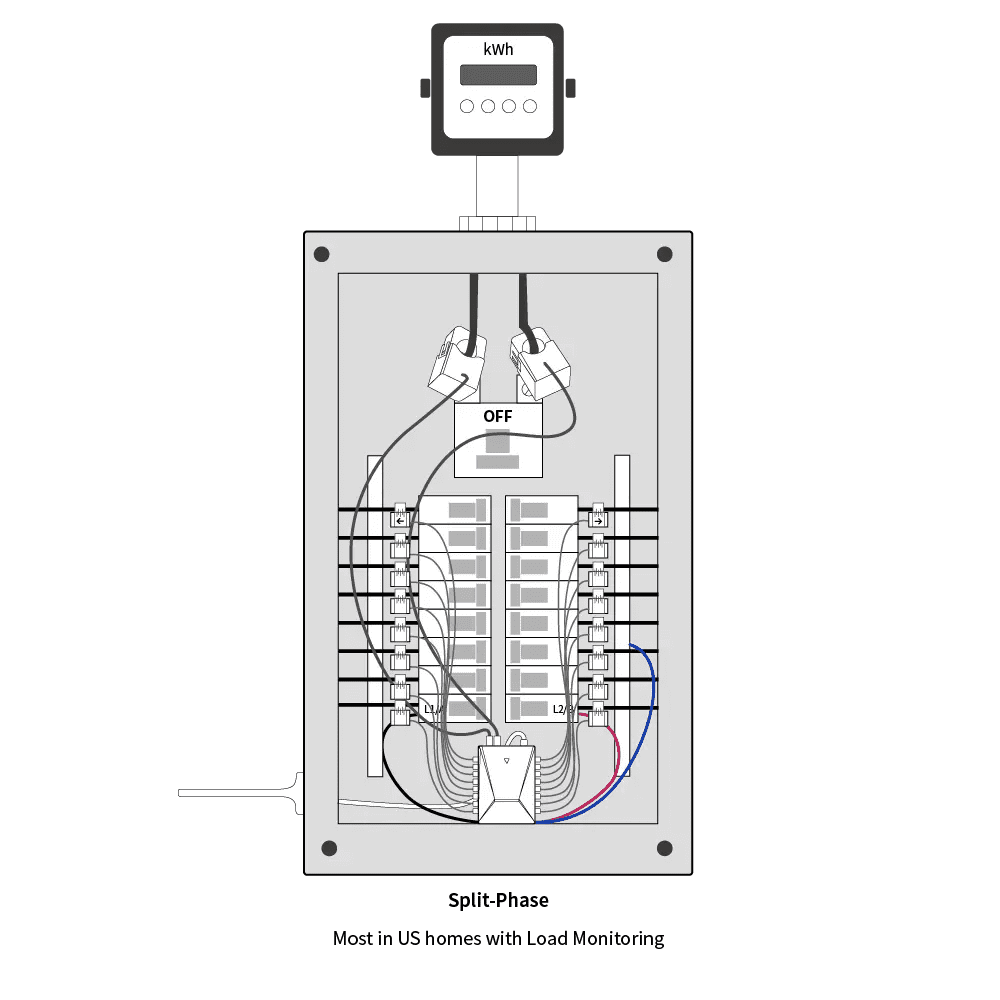
Standard Split-Phase Home (120/240V)
- 2 main CTs on service wires.
- L1 & L2 wires to breakers, Neutral to bus bar.
- Sub CTs clamp on HVAC, water heater, EV charger breakers.
- Each CT plugged into numbered port.
Download Installation Resources
Frequently Asked Questions
How do I know if my home is split-phase?
Most U.S. and Canadian homes use a 120/240V split-phase panel. You can tell by looking inside your breaker box:
- If you see two thick wires (L1 and L2) coming in, plus a neutral bar with white wires, that’s split-phase.
- If you have double-pole breakers labeled 240V (e.g., for dryers, ovens, HVAC), that confirms it.
If you’re still unsure, check your utility bill—it usually lists “Service: 120/240V” for split-phase homes.
Why does the WattPanel-2X need voltage wires?
The voltage wires serve two purposes:
- Powering the monitor – The WattPanel-2X runs directly from your electrical panel, so it doesn’t need a separate power adapter.
- Measuring energy accurately – Without a voltage reference, the CT sensors could only measure current, not actual watts or kilowatt-hours.
What if I don’t have space inside my panel?
That’s common in older homes with crowded breaker boxes. You can:
- Mount the WattPanel-2X outside the panel using the included wall bracket.
- Route the CT cables and power cable into the panel through a knockout hole.
- Place the antenna outside for good WiFi reception.
Can WattPanel-2X be used on a 3-phase system?
No. WattPanel-2X is designed only for single-phase 120V or split-phase 120/240V residential systems.
- If you try to install it on a 3-phase system, readings will be wrong.
- For commercial or 3-phase monitoring, choose WattPanel-3X
How long can CT sensor cables be extended?
The included CT cables are designed for standard home panels. If you need extensions:
- Keep total length under 10 meters (≈33 feet) to avoid signal loss.
- Use shielded extension cables for best accuracy.
Related Resources
©2025 All Rights Reserved. Grus IoT Co.,Ltd.