
AquaNet-BD
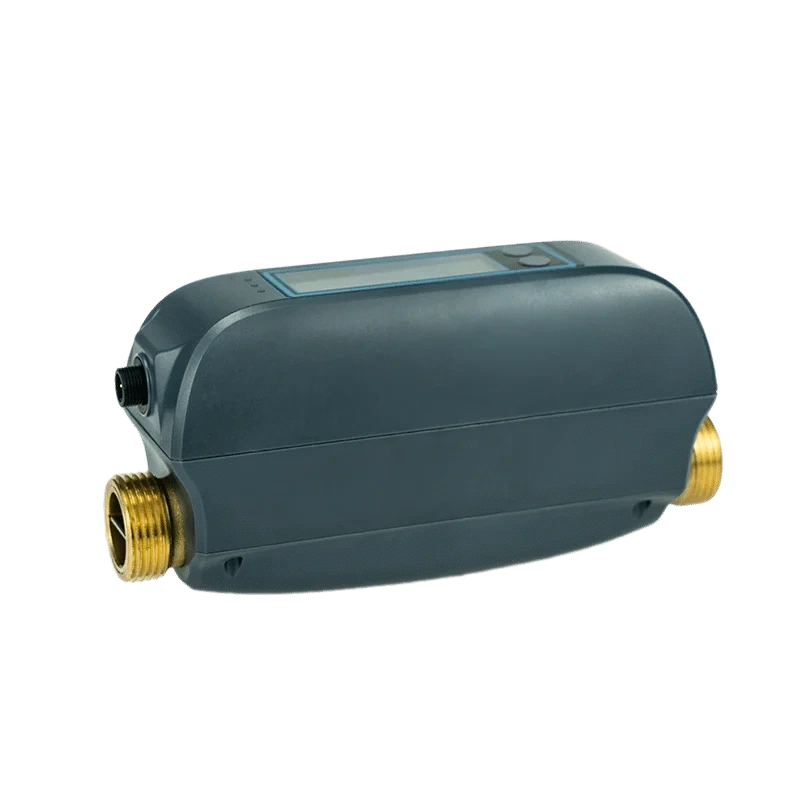
Water monitoring and shutoffDiscuss water-use visibility and a shutoff device for the intended pipe location.
Check: Selected variant, pipe connection, space, power, network and response settings.View product options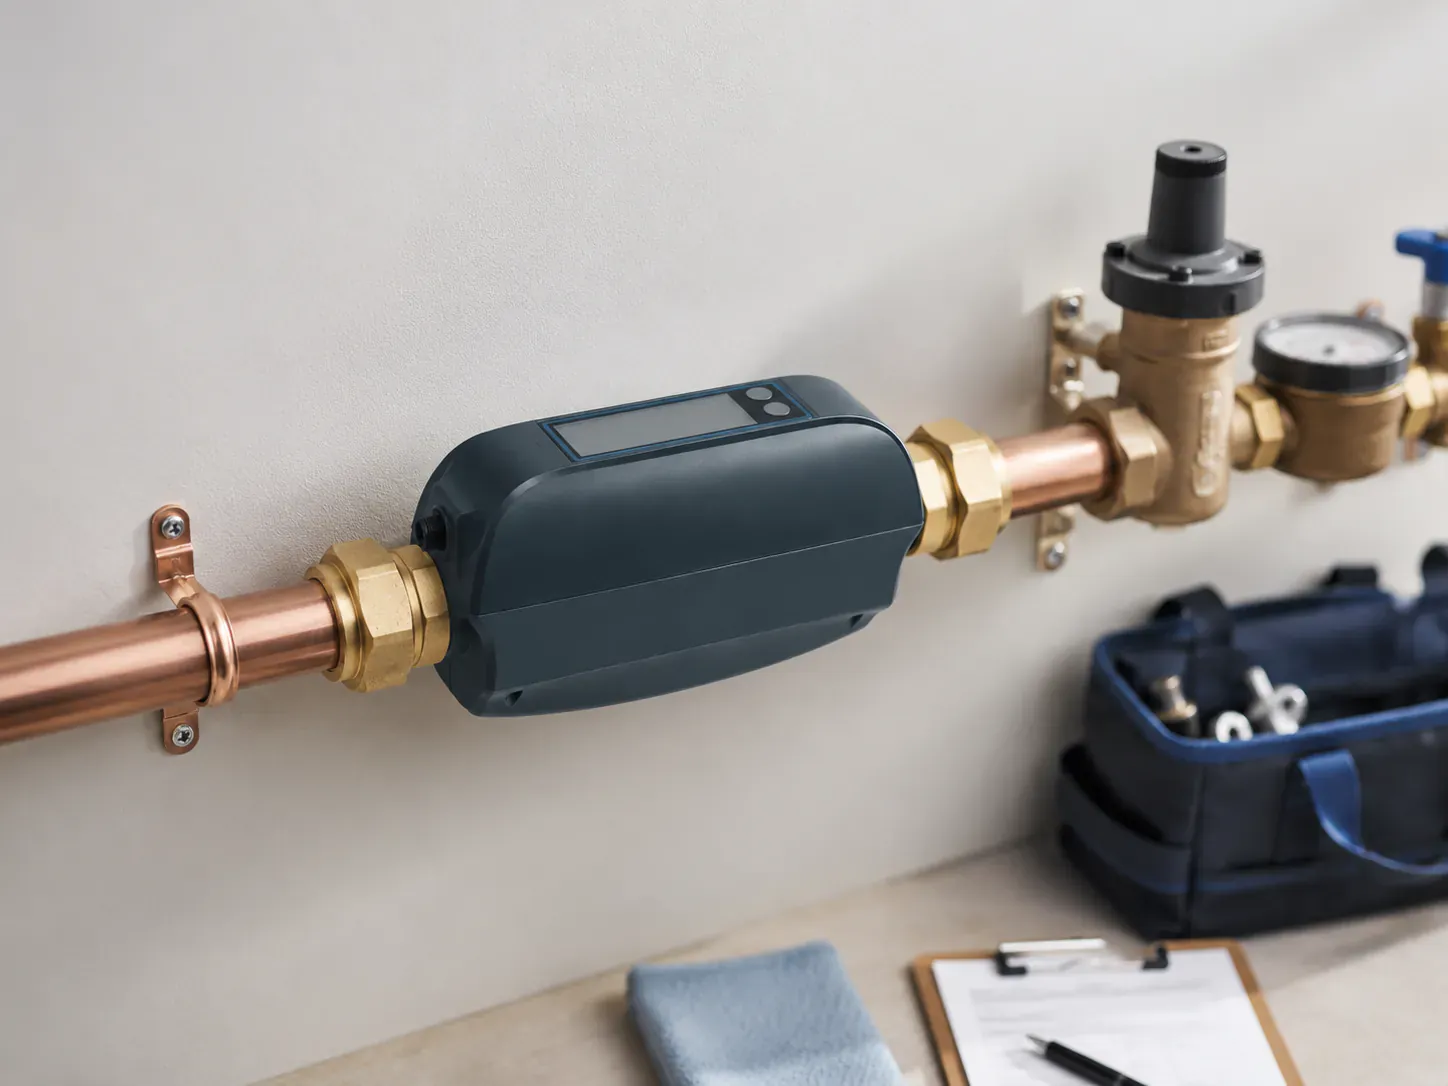
Start with the job: monitor water use, control a compatible valve, or detect water in a specific location. Match the product and installation requirements before treating separate devices as one system.
Illustrative installation. Products selected separately.
Use the individual product pages for available options. The examples below do not define a fixed partner bundle or prove that all devices connect to each other.
Discuss water-use visibility and a shutoff device for the intended pipe location.
Check: Selected variant, pipe connection, space, power, network and response settings.View product options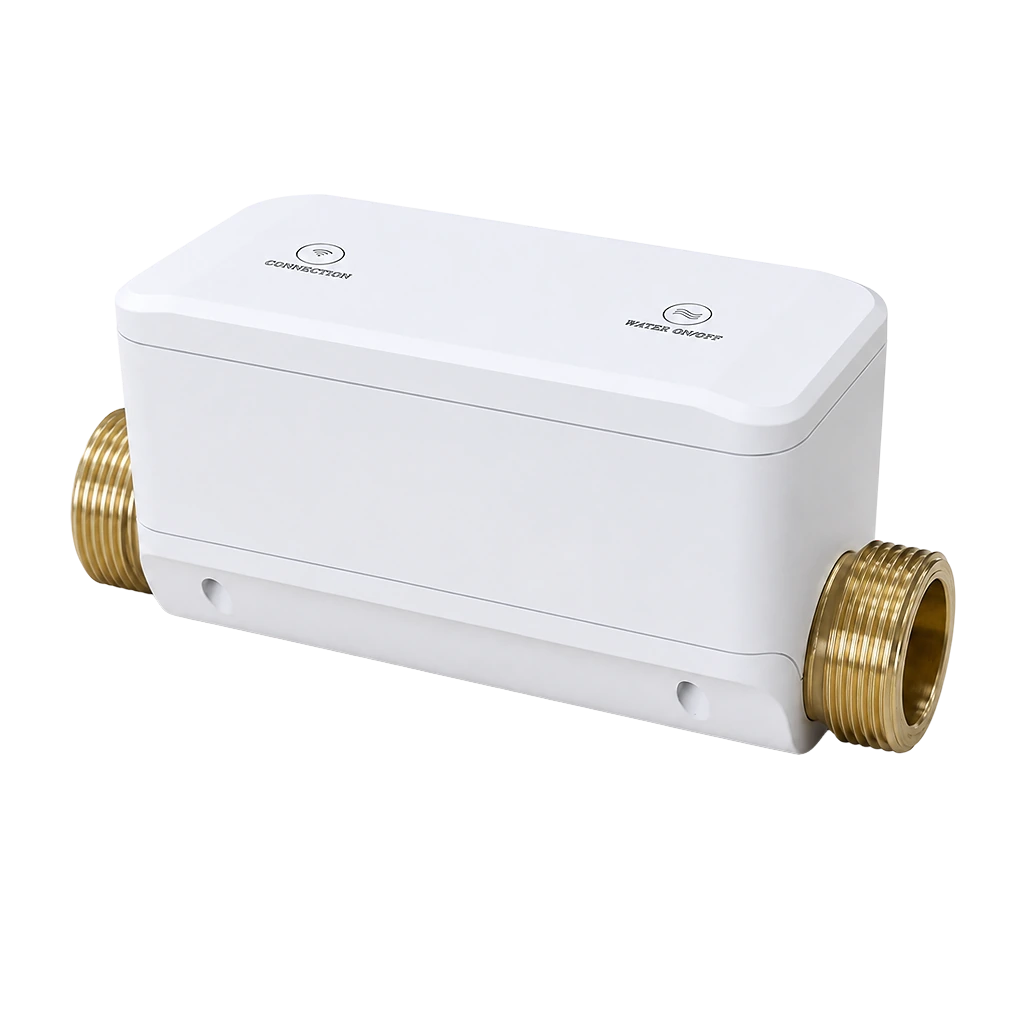
Review a valve-control option for the specific pipe and installation arrangement.
Check: Model and connection requirements, accessible installation space and network setup.View product options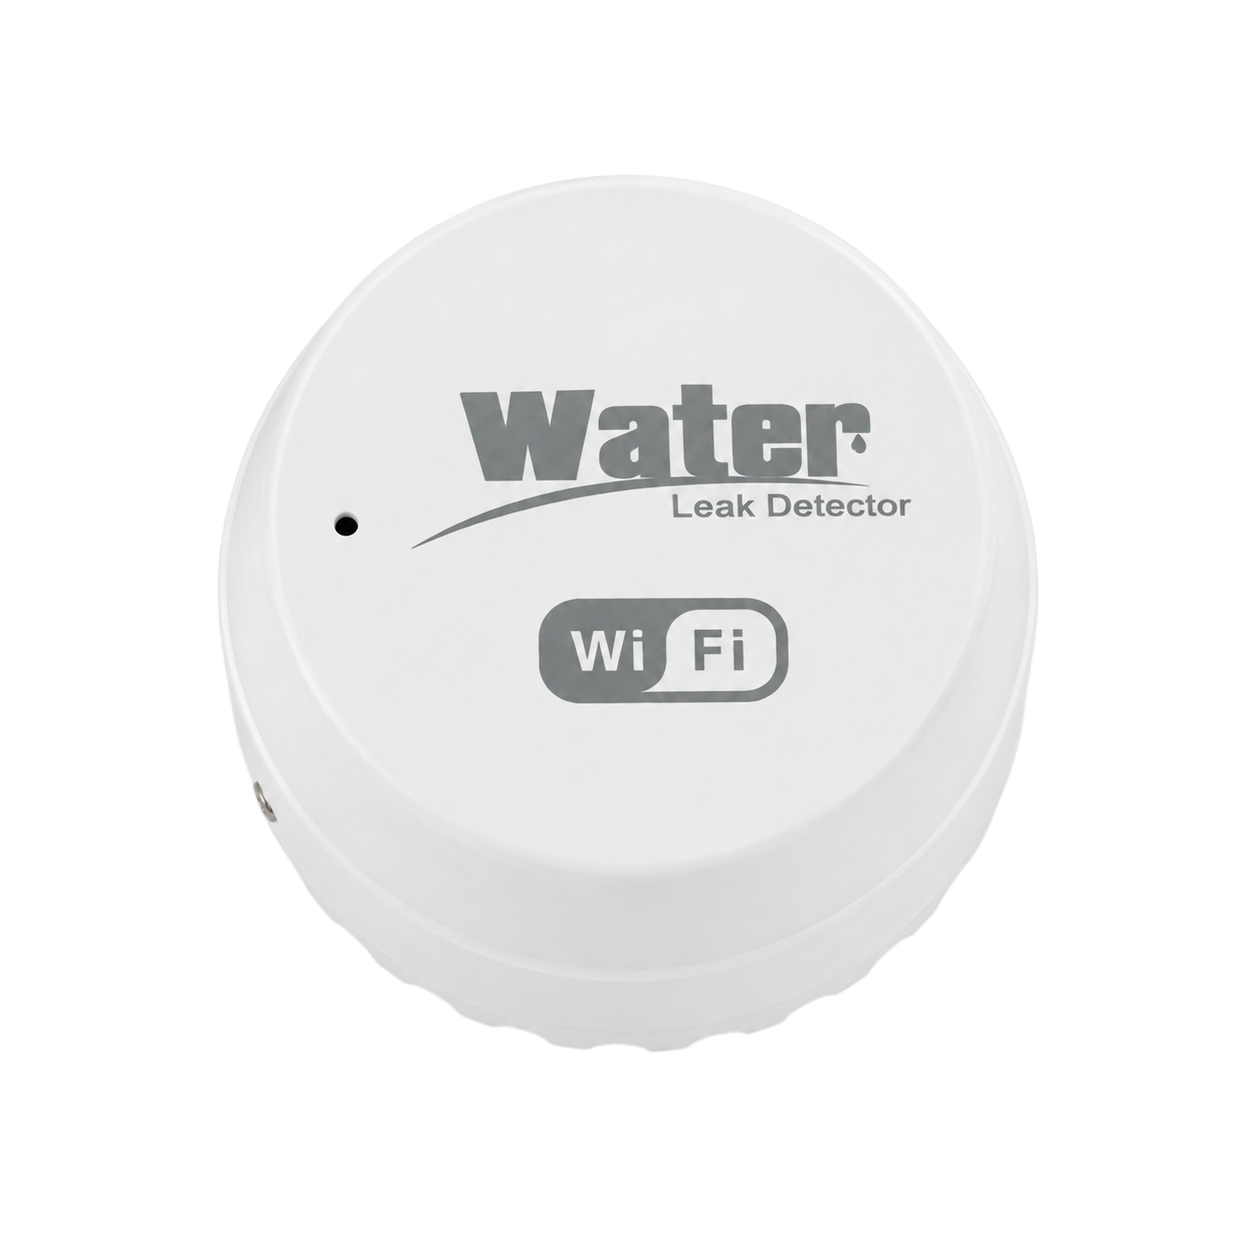
Identify water at a chosen risk location and plan who will respond to an alert.
Check: Sensor position, coverage, network and notification requirements.View product options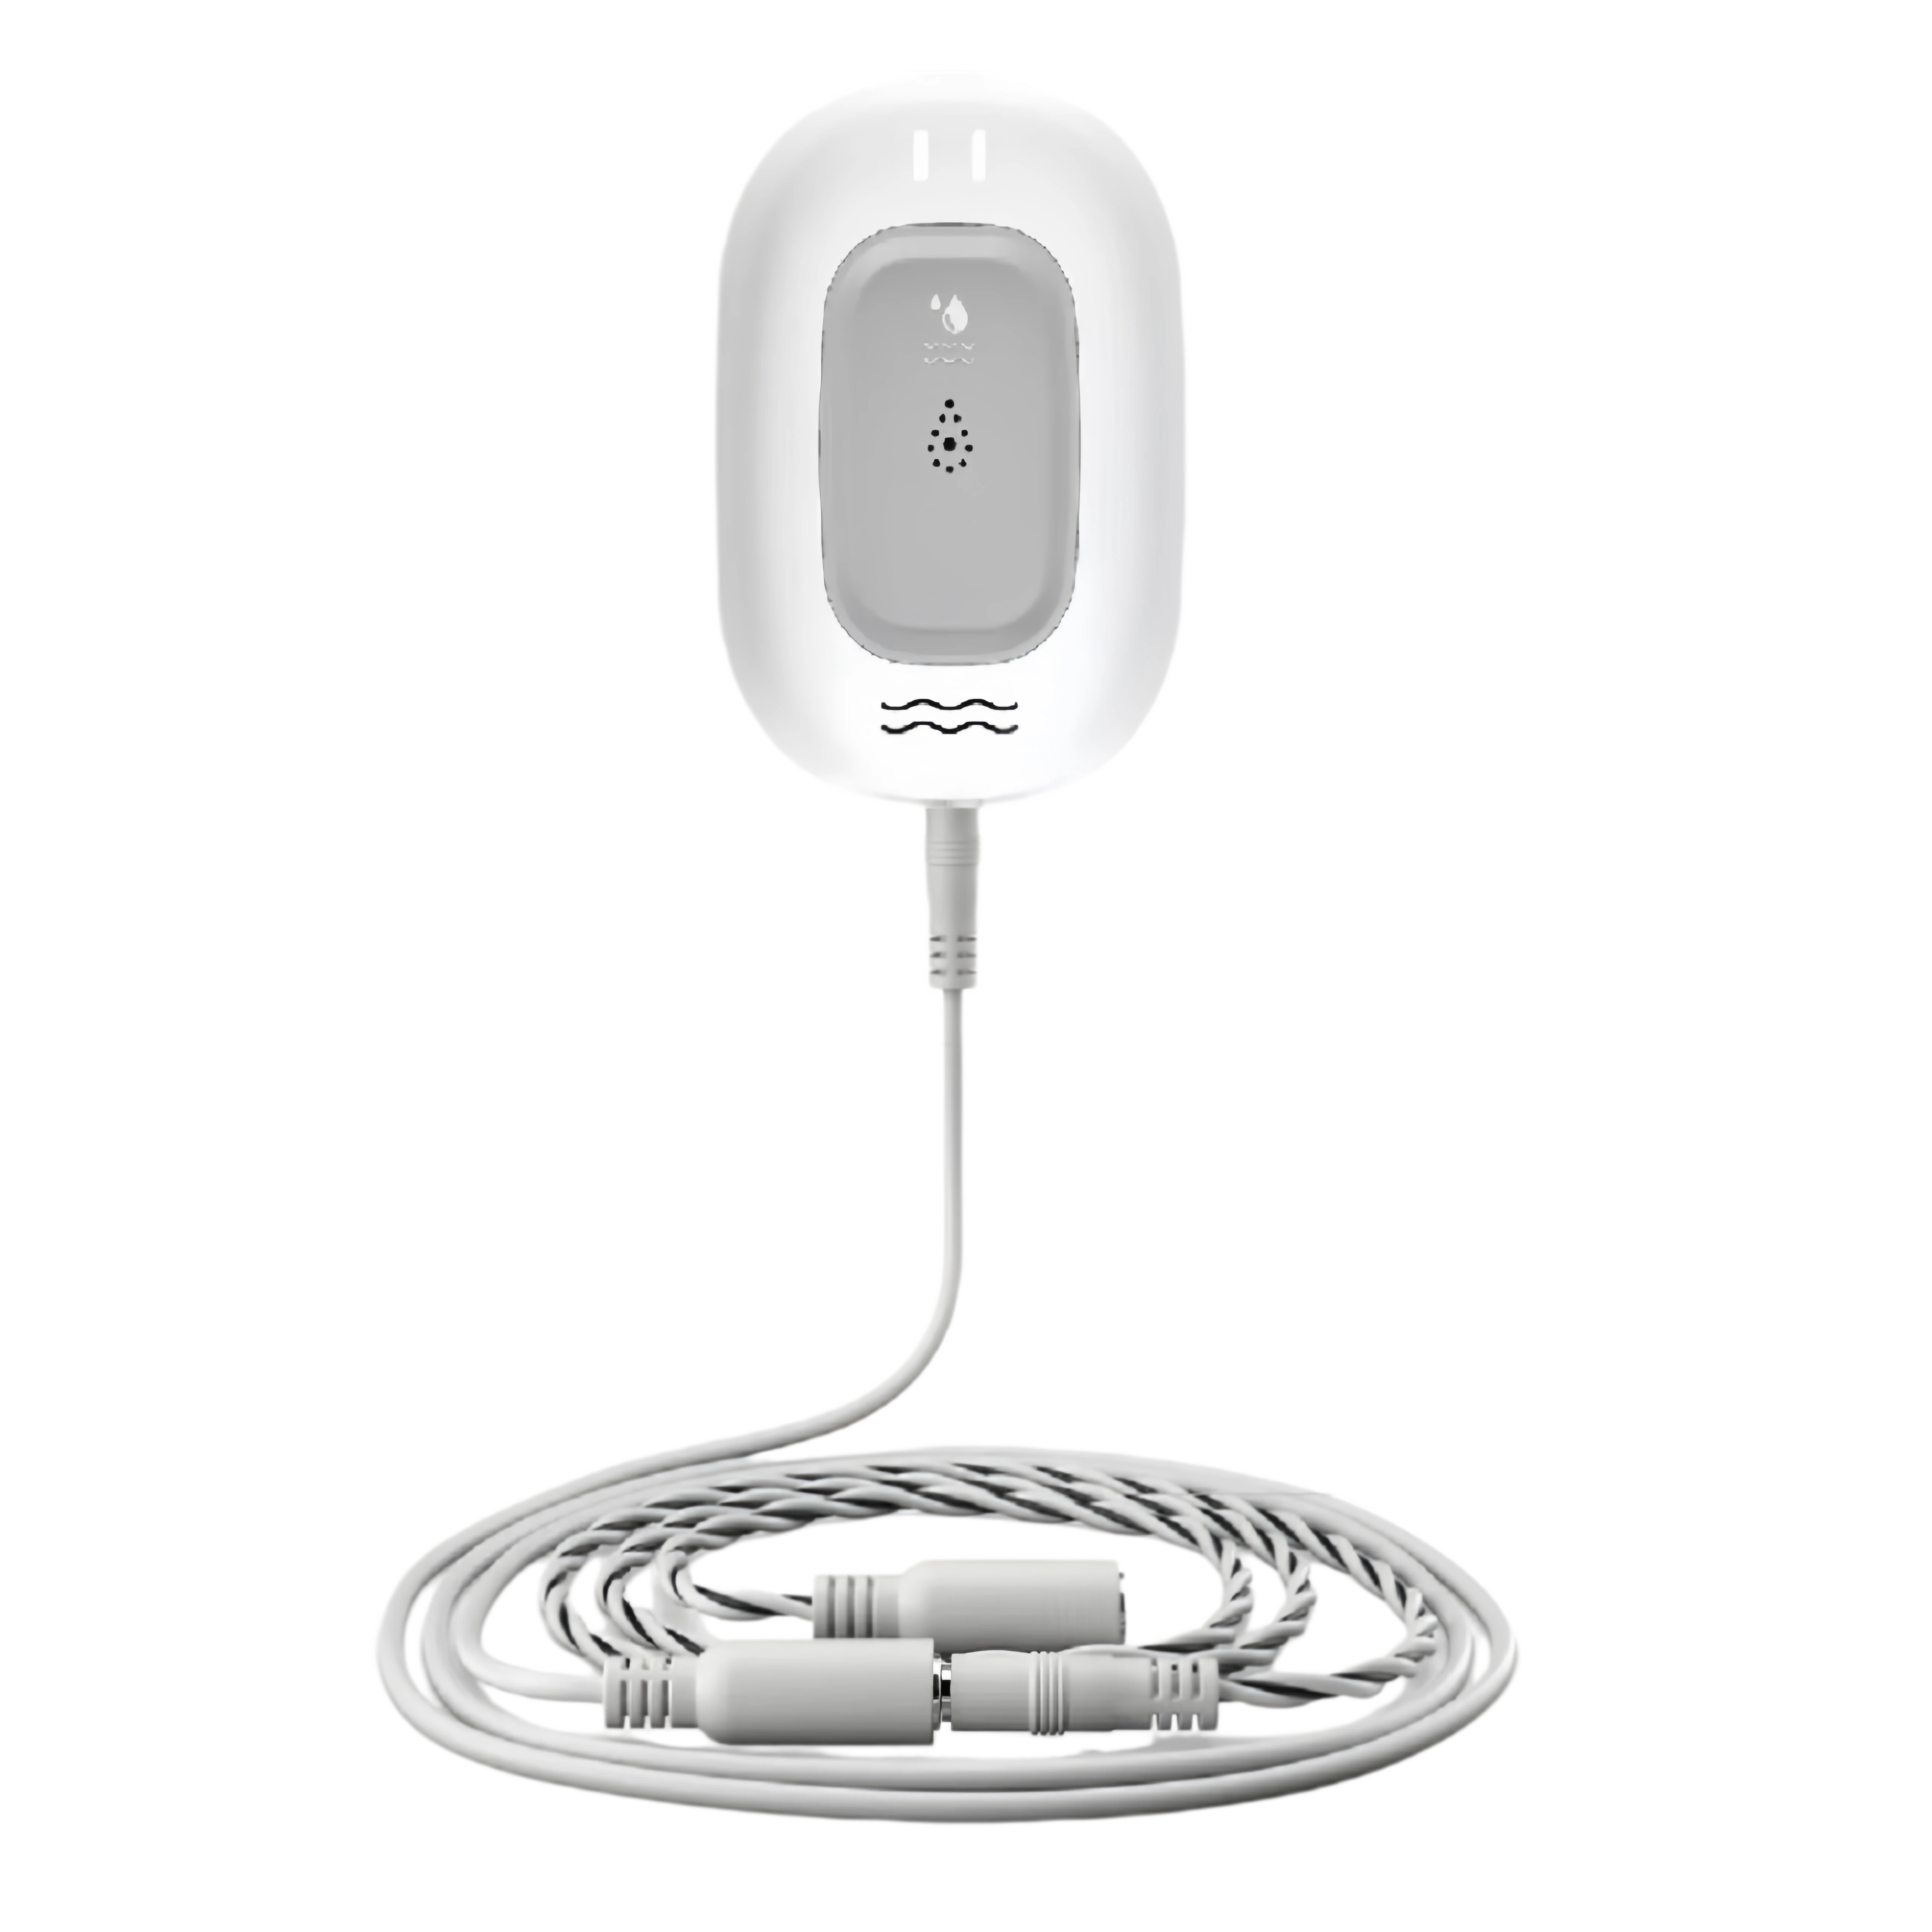
Consider a sensing cable for a defined area where water may collect.
Check: Cable length, placement, coverage and the selected device's connection requirements.View product optionsA useful project discussion starts with the intended result and the constraints. Keep customer details private.
Open the valve fit checklistIdentify where sensing or valve control is needed and who would respond to an alert.
Provide the selected model, pipe connection, available space and relevant power and network conditions.
Name the local installation and support role, then confirm the order contents and written terms.
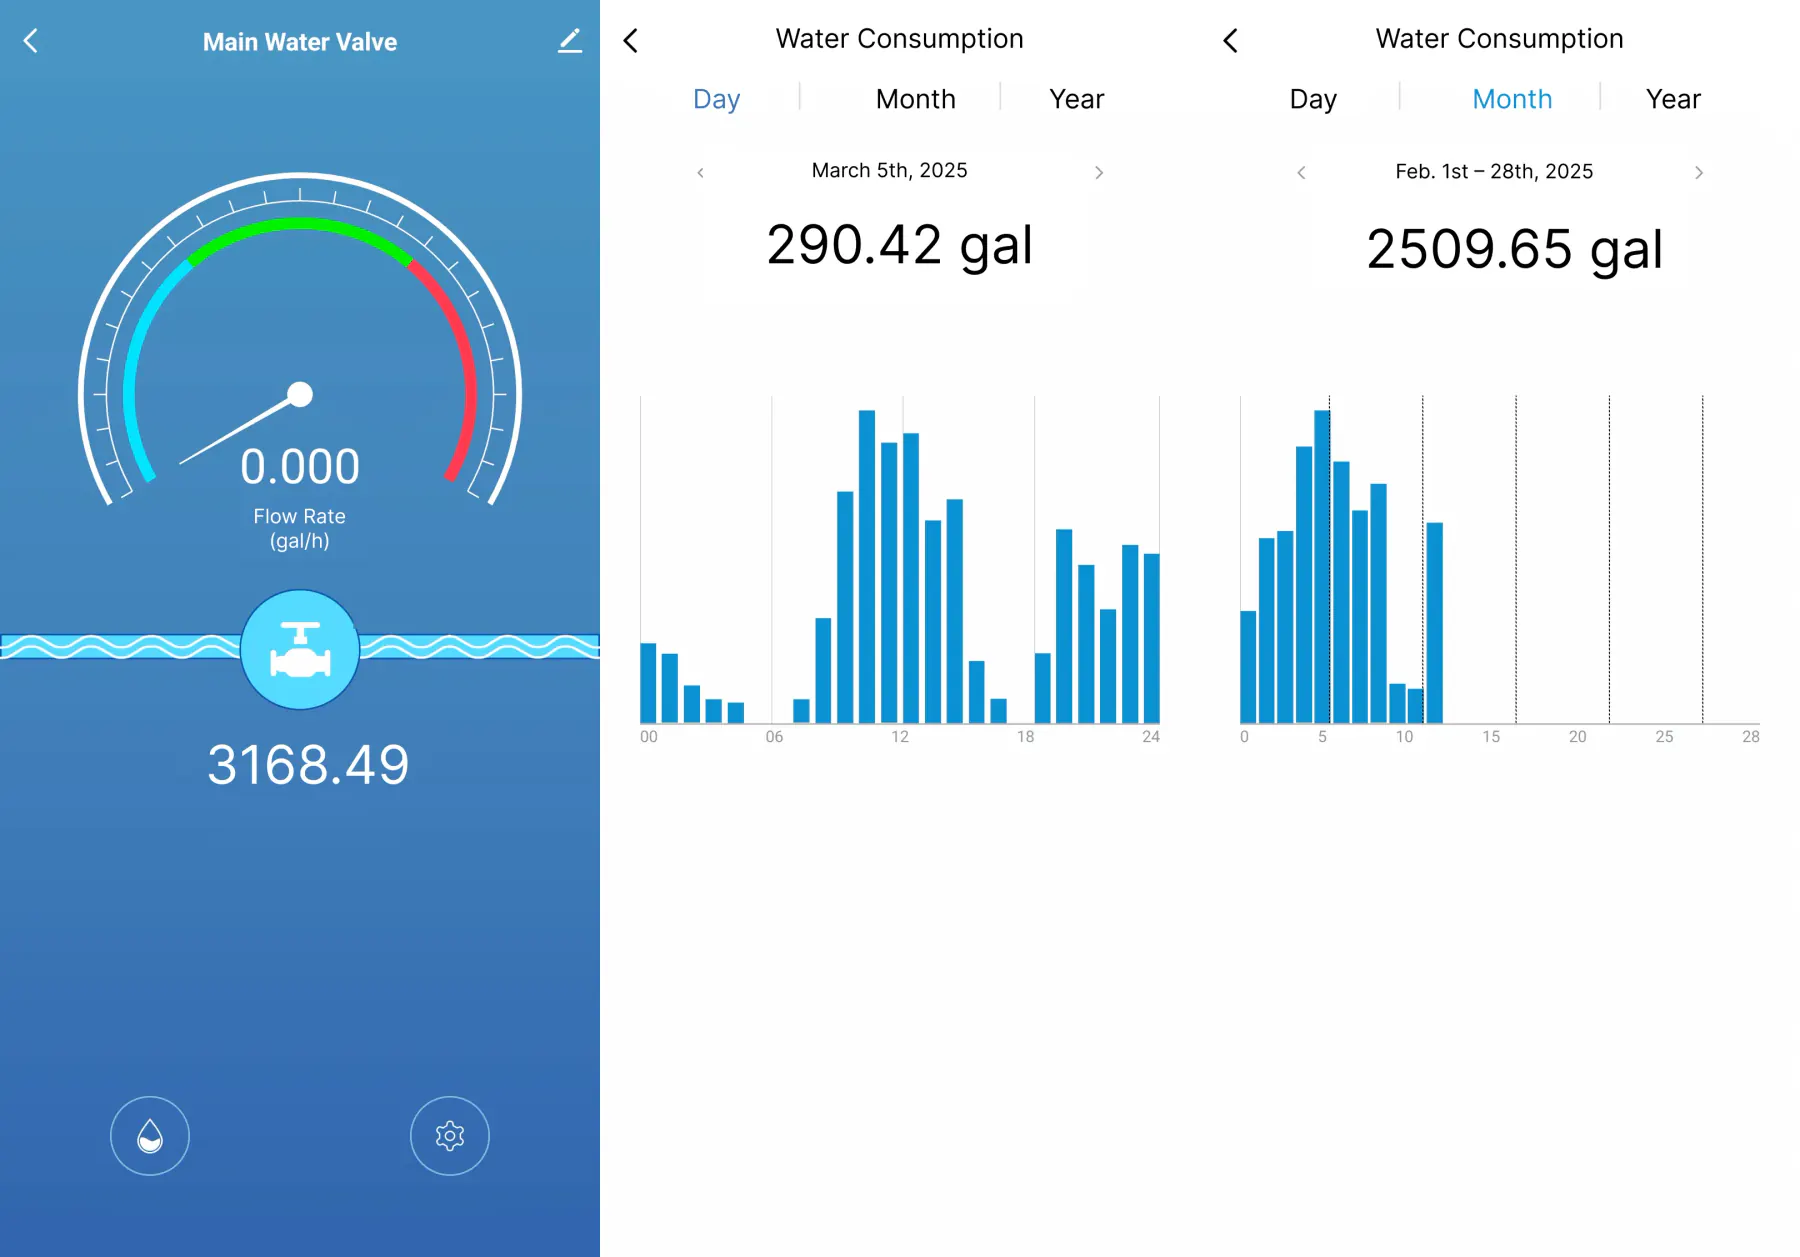
Discuss who will receive information, who can act and what the homeowner should do if a device or connection is unavailable.
Confirm response settings for the exact equipment. Do not promise a particular offline behavior or unattended shutoff based on a screenshot.
Plan installation and supportThe products shown are selection options, not a packing list. Confirm the exact order, quantities and included accessories before treating them as a bundle.
Do not assume that separate products work together. Confirm the exact models, connection requirements, supported response settings and behavior if power or network access is lost.
Start with the function needed and the site's pipe connection, space and operating conditions. Ask for the selected model's documentation and have the installation reviewed by the appropriate qualified professional.
Include your service region, product interests and estimated quantity in a partner inquiry. Product selection, pricing, sample terms and availability must be confirmed for that request.
Tell us what the home needs and who will handle installation and ongoing support. Product selection and business terms follow that discussion.
Discuss a project