
Confirm the Valve Type Before Planning Work
A valve actuator, an inline valve and a kit containing several components do not share one installation method. Identify the exact product before choosing tools, pipe fittings or app instructions.
Confirm the exact valve product, the pipe or valve fit, access for installation and the documented setup procedure. Keep water-flow connections separate from communication links.
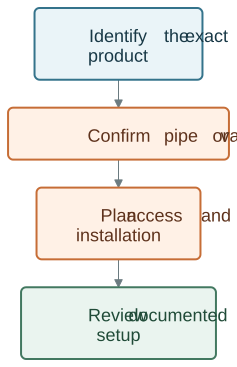
For an overview of the different roles, read what a smart water valve does. Do not cut pipe, apply sealant or connect power based on a generic product illustration.
Prepare the Installation Details
| Detail | What to provide |
|---|---|
| Product | Exact model, selected option and manual |
| Plumbing or valve | Existing connection, size and valve information |
| Access | Space for installation, operation and maintenance |
| Power and network | Requirements documented for this device |
| Intended response | Manual control, app control or a documented paired action |
Have a qualified installer establish the appropriate scope for plumbing or fixed work. Confirm any additional fittings, access requirements and responsibilities before scheduling the installation.
Keep Water and Communication Connections Separate
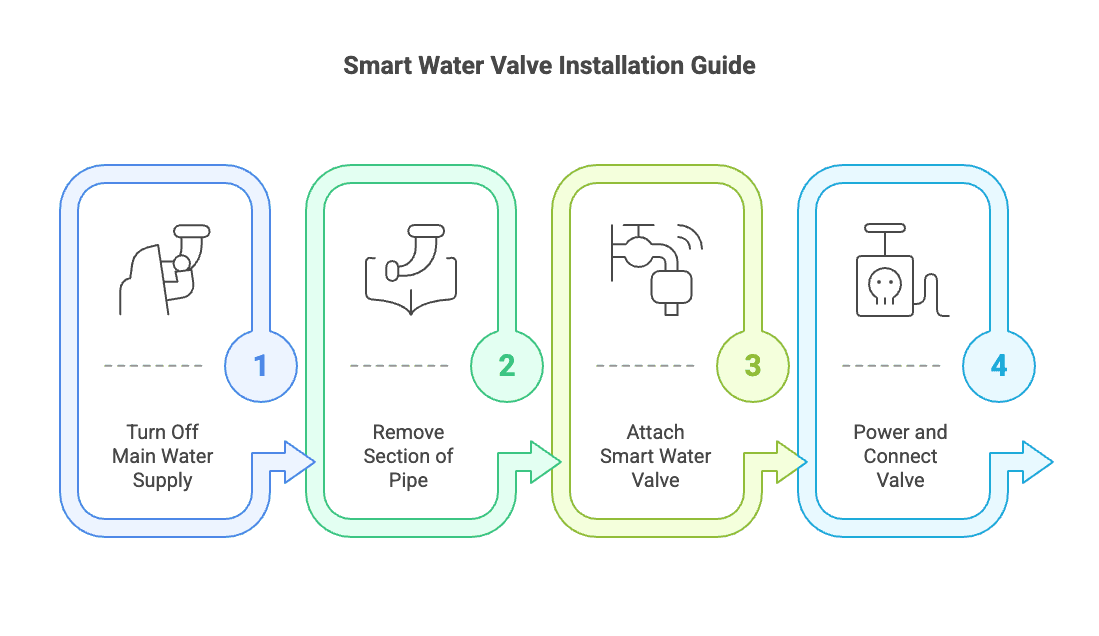
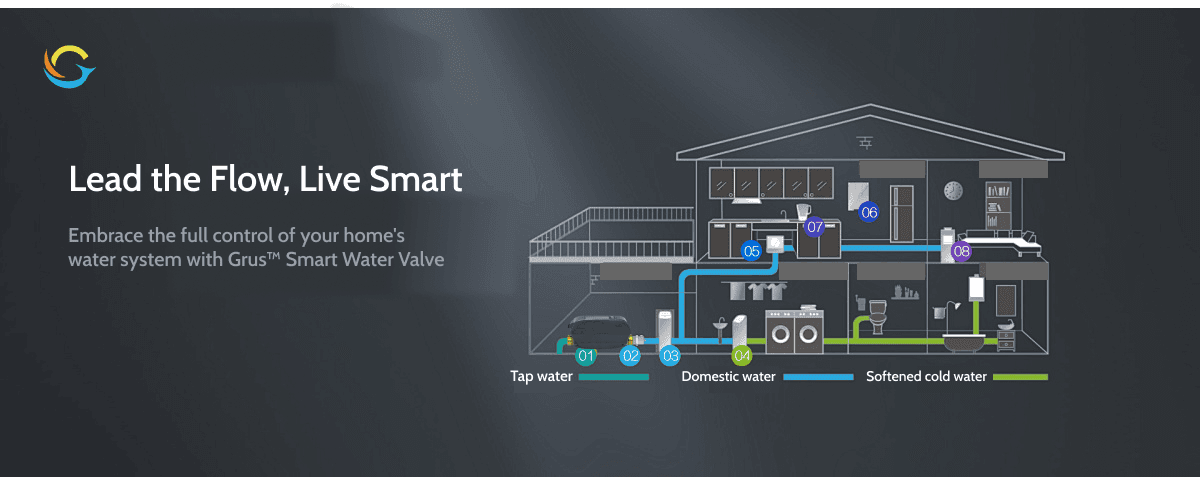
A water-flow connection describes plumbing. An app or network link describes communication. A diagram connecting the two must not be read as a piping or electrical instruction.
Do not assume every valve is bidirectional, uses the same sealing method or has a battery backup. Use the exact manual to establish those details. Keep heating and other equipment requirements in view when considering a change to its water supply.
Set Up the Documented App Connection
Use the app and pairing procedure named in the product documentation, rather than searching for an assumed app name or following a universal reset timer. Record the device name so that the household can identify the correct valve later.
If a sensor-triggered action is required, check the exact detector, valve and supported pairing. The presence of both devices in an account does not by itself prove that a leak event will close the valve.
Review the Completed Installation
Ask the installer to explain the scope and record the equipment used. Follow the manufacturer’s test procedure to review the intended response; do not deliberately cause a leak.
Keep the manual, model details and installer contact accessible. If a command or notification is unexpected, record the time, device and displayed state and seek appropriate assistance instead of repeatedly resetting or forcing the valve.
Questions to Resolve
Can I use the same procedure for every AquaNet product?
No. Review the actual valve, detector or kit. Pipe work and an actuator installation are different tasks.
What happens during an outage?
Consult the exact product’s power, manual-operation and network-loss instructions. Do not assume all products maintain the same state or response.
Does shutoff mean the property is undamaged?
No. A valve action does not repair the leak or establish what happened before it closed. Arrange an appropriate check of the fault and affected area.
Choose the Next Step
Compare water-protection products for the equipment, or discuss an installer-supported project for a project-level enquiry. The water-protection guide explains the wider detection and response plan.