1. Introduction: Why Home Energy Monitoring Matters
As we move into a more energy-conscious world, many of us want real-time insights into how much electricity we’re using at home. Maybe you’ve recently moved to a new area or just started wondering where all your energy dollars are going each month. Unfortunately, not all utility companies provide easy access to detailed energy data. Some might only give you a monthly report, which doesn’t allow for much control if you're trying to keep a close eye on your energy use day-to-day.
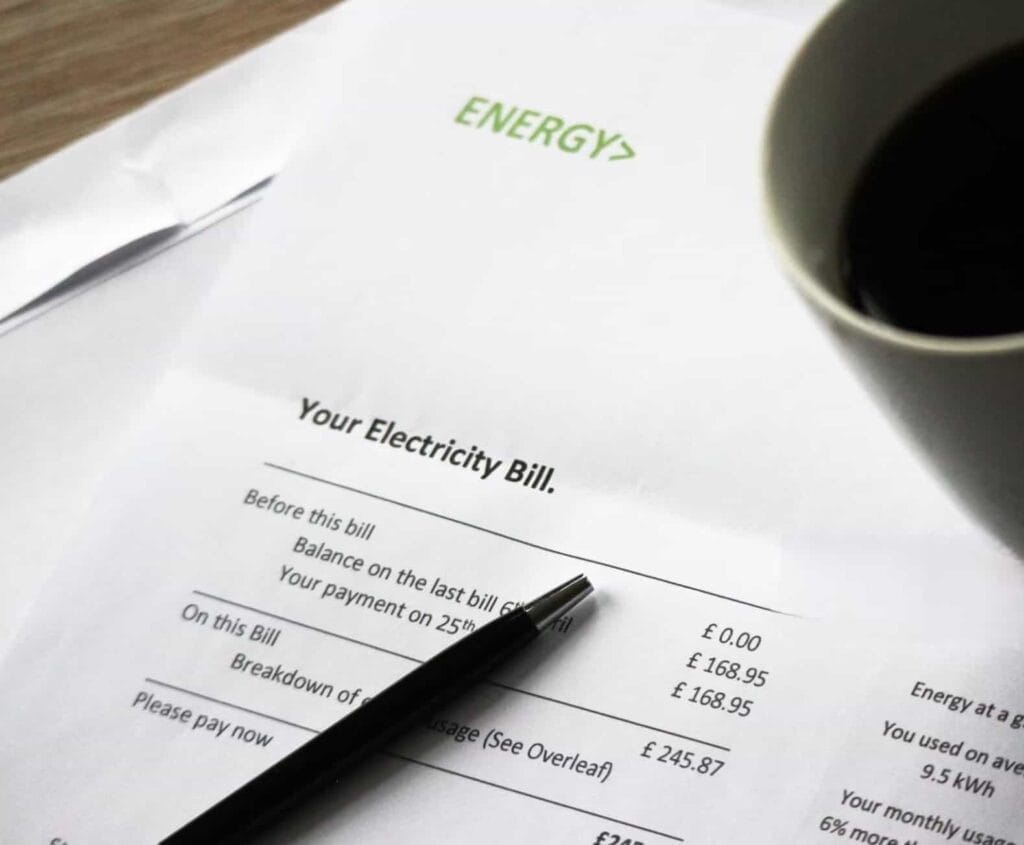
For users who’ve had access to web portals or advanced energy monitoring systems at previous homes, moving somewhere without such tools can be a letdown. It leaves many asking, "How can I get that level of energy insight back?"
Meet WattPanel: This article is here to help you understand how the WattPanel clamp-style monitor can help you gain accurate, detailed insights into your home’s energy usage, without needing to wait on your utility company. We’ll break down the setup process and explain why DIY installation is more accessible than you might think.
2. Comparing Monitoring Methods: Smart Meter vs. Clamp-Style Monitors
If you’re new to energy monitoring, you might already know that there are a couple of main ways to do it: using a direct smart meter or using a clamp-style monitor like WattPanel. Here’s a look at both to help you decide what fits your needs best.
Direct Meter Reading – Pros and Cons
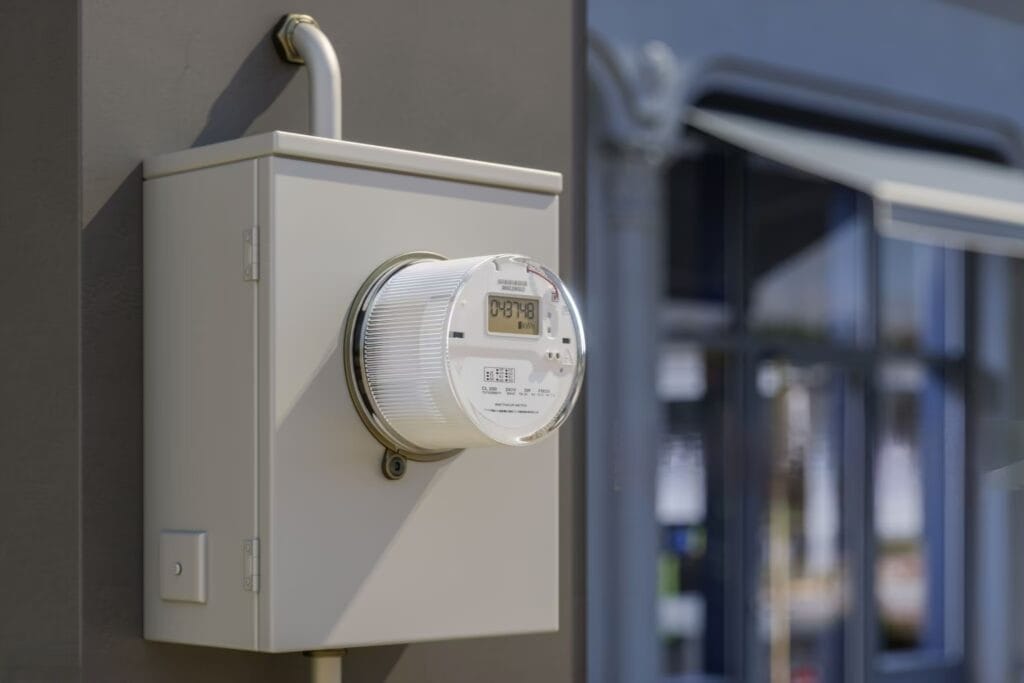
Some energy monitoring devices connect directly to your utility meter, providing whole-home usage data. The good news? They’re easy to read once installed, and they’re generally low-maintenance. However, there’s a catch: these devices need to be compatible with your specific meter model, and not all energy suppliers support them. Plus, since you’re accessing the meter directly, you often need permission from your utility provider.
In short, it’s a great method – if your setup supports it. However, given the compatibility issues and restrictions, it’s not always an option.
Clamp-Style Monitors: WattPanel’s Approach
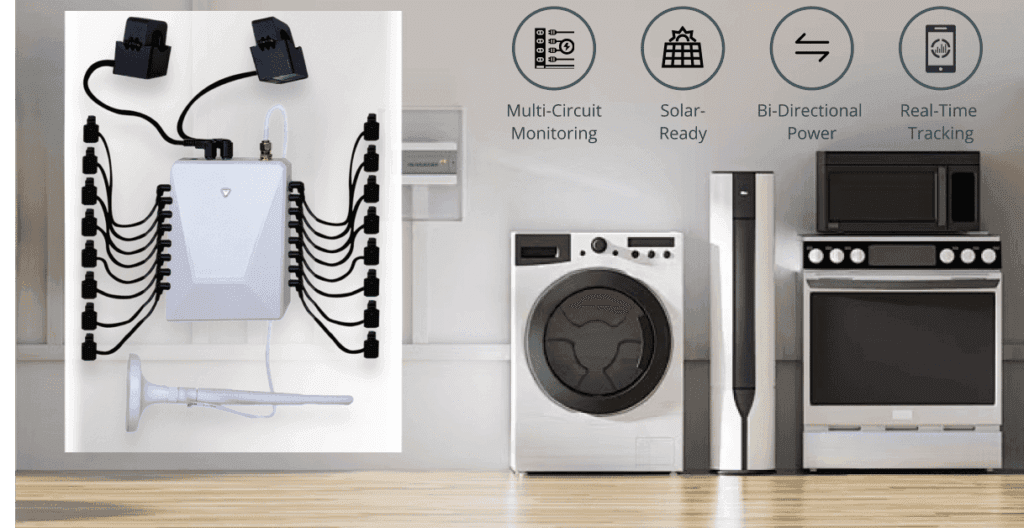
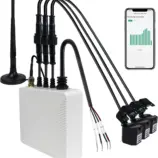
This is where clamp-style monitors shine, especially for homeowners who want to take control of their energy monitoring without waiting on their utility provider. WattPanel uses clamps that attach to the main power cables in your electrical panel, tracking the current flow. It’s a reliable method that doesn’t depend on utility compatibility.
Advantages of Clamp-Style Monitors:
- Independence from Utility Provider: No need to check compatibility with your provider.
- More Control: You have direct access to your home’s energy data.
- Real-Time Insights: Track usage in real-time, rather than waiting on monthly reports.
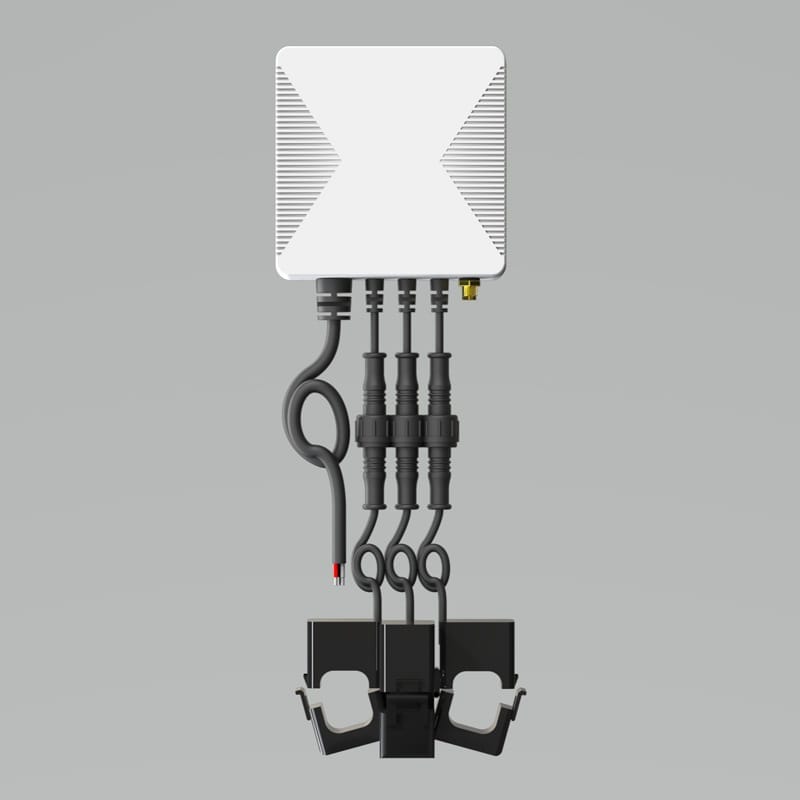
While clamp-style monitors may sound more complex at first, WattPanel is designed with DIY users in mind, making it easier to install than you might think. And, once set up, it provides a wealth of data that allows you to pinpoint energy-hungry appliances and identify ways to save.
Why WattPanel is Worth Considering for DIY Monitoring
For users who prefer a more hands-on approach, WattPanel combines the best of both worlds: simplicity in installation and a powerful data collection system. In the next section, we’ll dive into the specific steps for installing a WattPanel monitor, breaking down the process into easy-to-follow steps to help make installation a breeze.
3. Debunking the DIY Myths: Installing a Clamp-Style Monitor is Easier Than You Think
When it comes to home energy monitoring, many potential users hesitate to dive into installation, often fearing that the process is too complicated or that they need professional assistance. However, installing the WattPanel clamp-style monitor is more straightforward than it appears. Let’s break down the installation process and address some common misconceptions.
WattPanel's DIY Installation Feasibility
Contrary to popular belief, you don’t need to be an electrician to install WattPanel. In fact, many users find the installation process manageable and user-friendly. Here’s why:
- User-Friendly Design: WattPanel is designed with the DIY user in mind. Its intuitive connections and straightforward setup guide eliminate guesswork.
- Clear Instructions: Each package includes easy-to-follow instructions, along with visual aids that walk you through the process step-by-step.
- No Need for Specialized Tools: All you need is a few common household tools, like a screwdriver, and you're good to go.
Step-by-Step Installation Guide
Here’s a simplified version of the installation steps for your WattPanel monitor. We recommend reading through these steps thoroughly before starting, and don’t hesitate to refer to the included video tutorial for additional guidance.
1. Safety First: Always start by turning off the power at your main electrical panel. This ensures your safety while installing the device.
2. Open the Electrical Panel: Use a screwdriver to remove the panel cover carefully. Make sure you’re following all safety protocols and taking precautions against any exposed wires.
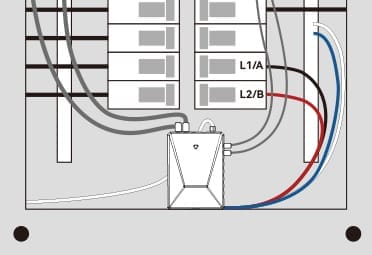
3. Connect the Power:
- Connect the power cable into the bottom of the main unit until it clicks into place securely.
- Secure the N wire from the power cable to the neutral bus bar.
- Connect the L1 wire to the L1/A breaker pole.
- If your system is 3-Phase, secure the L2 and L3 wires to the corresponding L2/B and L3/C breaker poles.
- If your system is Split-Phase, only secure the L2 wire to the L2/B breaker pole, while the L3 wire should connect to the neutral bus bar.
4. Connect the Device: After the clamps are in place, connect the WattPanel monitor to your home’s Wi-Fi network by following the in-app instructions. This step usually involves scanning a QR code and entering your Wi-Fi password.
5. Attach the Clamps: Locate the main power cables within the panel. Each clamp should be positioned around the cables according to the instructions. It’s as simple as squeezing the clamp shut until it securely fits around the wire.
6. Close the Panel: Once everything is connected, carefully replace the electrical panel cover, securing it back in place.
7. Power Up: Turn the power back on and check the app to ensure that the WattPanel is receiving data. You should see real-time information about your energy usage right away!
5. Core Features of WattPanel: Real-Time Monitoring and Personalized Energy Reports
Once you have your WattPanel installed, the real fun begins! This section highlights the powerful features of WattPanel that transform the way you monitor and manage your home’s energy usage.
Real-Time Energy Monitoring
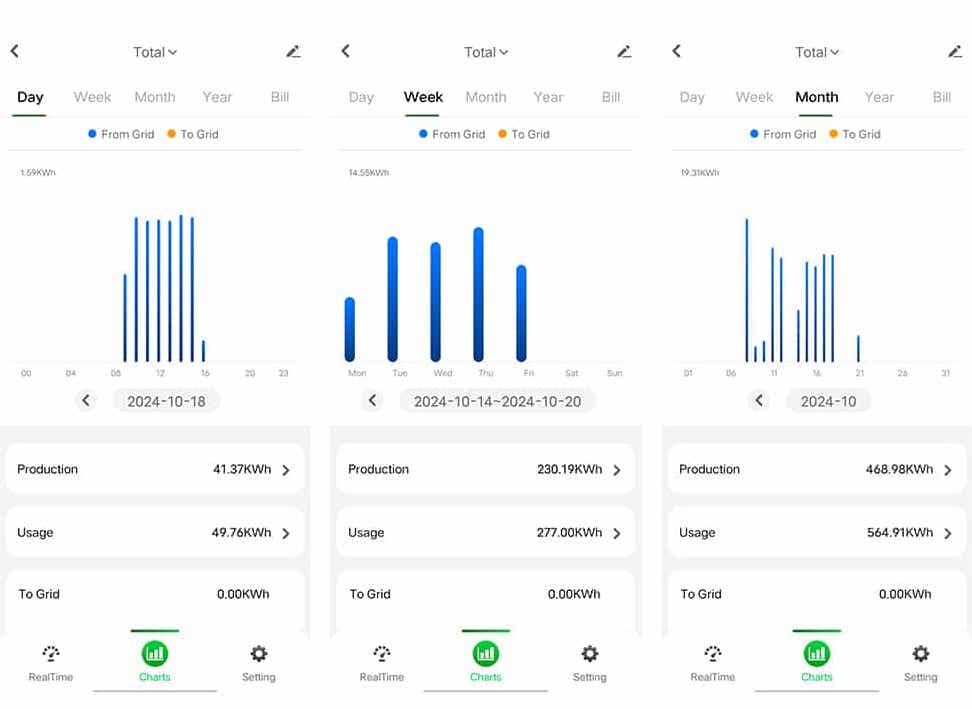
WattPanel provides instant feedback on your energy consumption, allowing you to track how much electricity your home is using at any given moment. This feature is essential for understanding your energy habits and making informed decisions about usage. Here’s what you can expect:
- Instant Feedback: The moment you turn on or off an appliance, you can see the impact on your energy usage in real time through the WattPanel app. This helps you identify energy-hungry devices and adjust your habits accordingly.
- Historical Data Access: Alongside real-time monitoring, WattPanel also stores historical data, enabling you to track your energy consumption over time. This data can help you pinpoint trends, like which months your usage spikes, so you can plan for seasonal changes in energy costs.
Personalized Energy Reports
Understanding your energy usage is only half the battle; the other half is using that information to make smart choices. WattPanel takes this a step further by providing personalized energy reports tailored to your specific usage patterns:
- Customizable Reports: You can set up your reports to focus on specific appliances, time frames, or energy goals. This allows you to see how your usage aligns with your savings objectives and where you might need to cut back.
Identifying Energy-Saving Opportunities
By leveraging WattPanel’s real-time monitoring and personalized reports, you can make smarter energy choices that lead to tangible savings. Here’s how you can optimize your usage:
- Peak Usage Alerts: Set up notifications to alert you when your energy usage exceeds a certain threshold. This can help you stay on track with your energy goals and avoid surprises on your utility bill.
Conclusion: The Power of Insightful Energy Management
With WattPanel, you’re not just monitoring energy consumption; you’re gaining the insights needed to take control of your household energy usage. The combination of real-time monitoring and personalized reports empowers you to make informed decisions that can lead to significant cost savings and a more energy-efficient home.
Take Action Today!
Now that you’re equipped with all the information about WattPanel and its benefits, it’s time to take the next step. Don’t wait for your utility company to provide the data you need to make smart energy decisions—take control with WattPanel!
Ready to Transform Your Energy Monitoring?
Explore more about WattPanel on our website, and see how easy it is to start your energy efficiency journey today.
Learn More and Purchase Your WattPanel Now!
