No hub. No C-wire. Just smarter, simpler warmth.
1. Why Your Baseboard Heater Needs a Smarter Thermostat in 2025
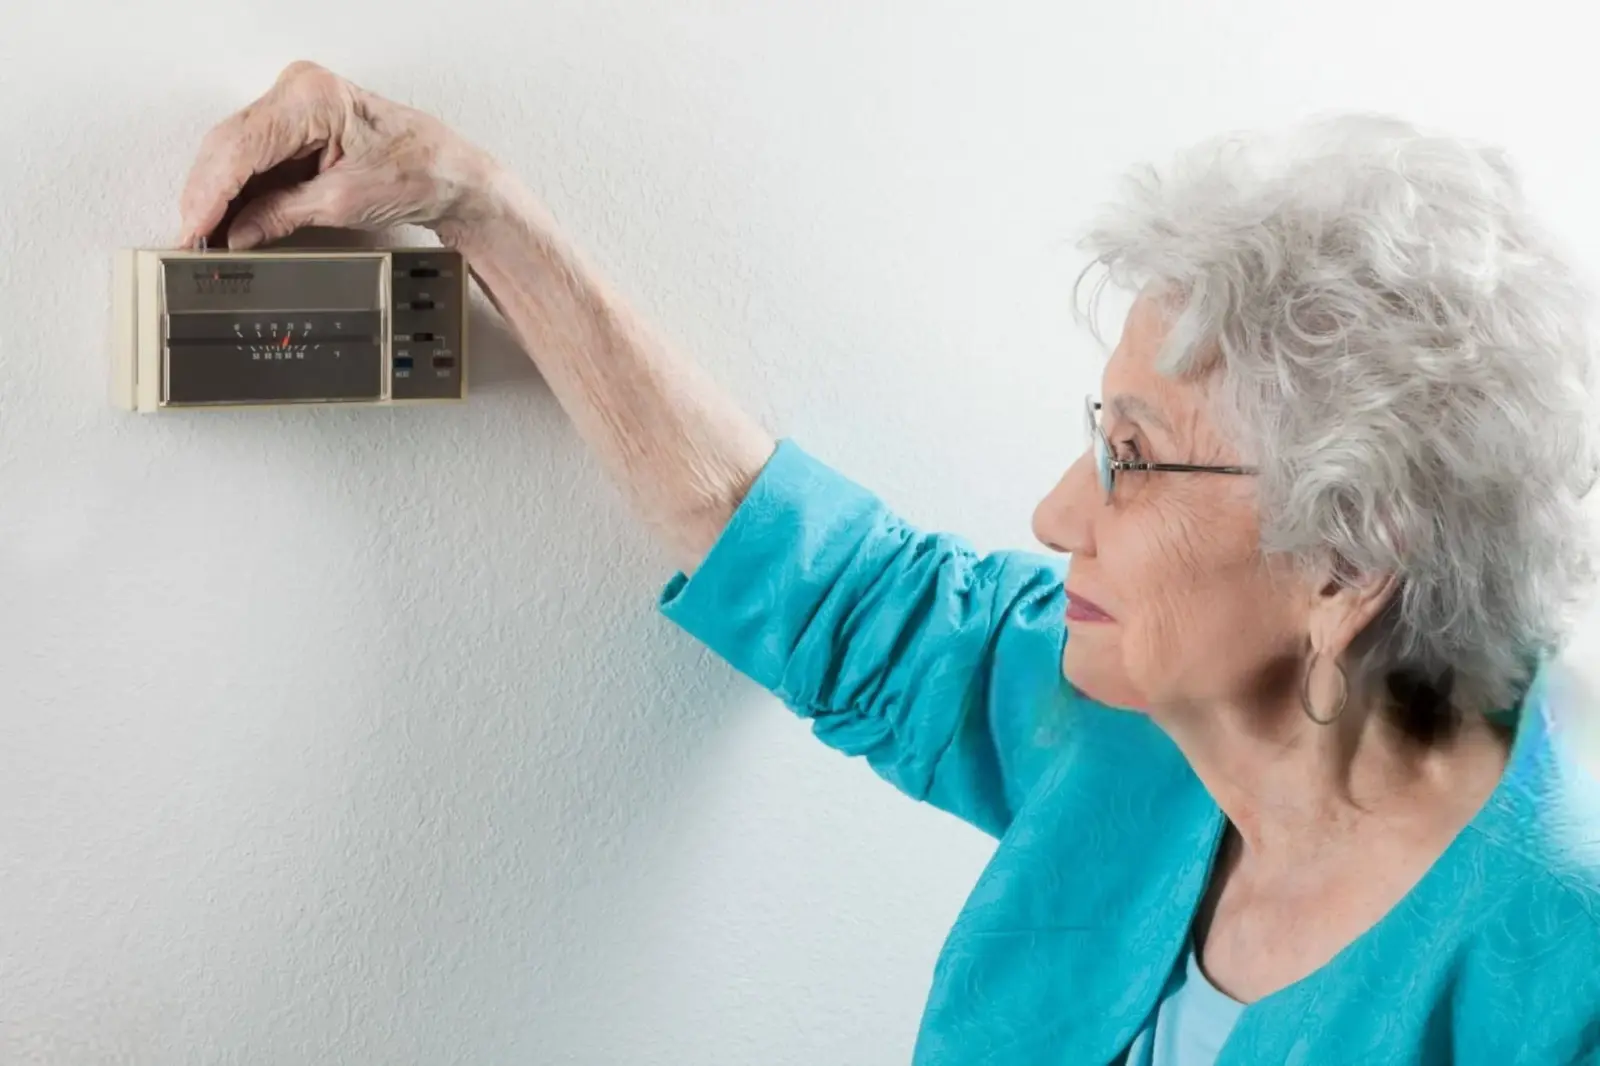
Still adjusting a manual dial on your electric baseboard heater? You’re not alone. Millions of homes across the U.S. and Canada—from vintage apartments to mountain cabins—still rely on baseboard heating. It’s simple, quiet, and effective. But without a smart thermostat, it’s also outdated.
Unfortunately, not all smart thermostats are compatible with 120V or 240V baseboard systems. Many homeowners buy popular options like Nest or Ecobee—only to discover they don’t work.
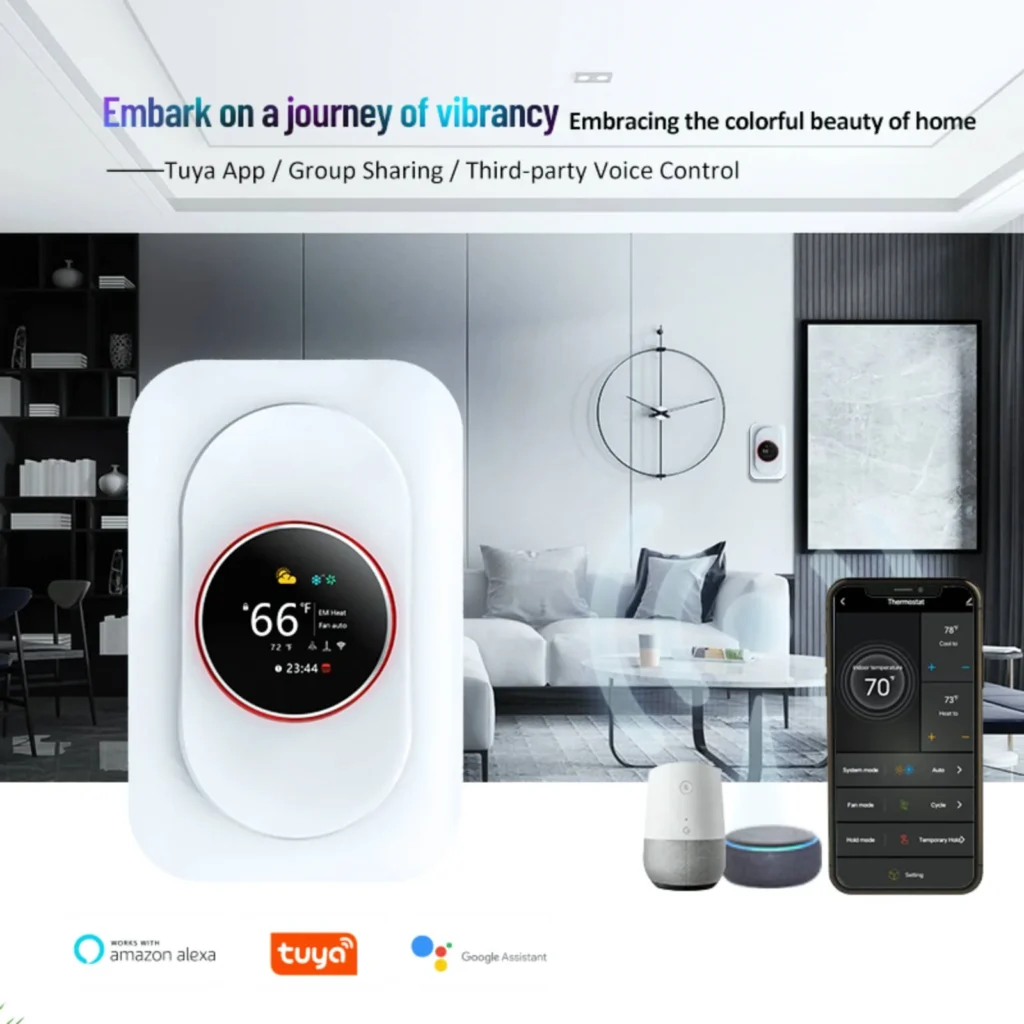
This guide explains why most smart thermostats don’t work with electric baseboard heating—and introduces a 2025 option that does: the Grus EcoNet-BH smart thermostat. Purpose-built for baseboard systems, it’s a cost-effective, easy-to-install solution.
2. Why Most Smart Thermostats Don’t Work With Baseboard Heaters?
The main reason? Voltage.
Baseboard heaters operate on line voltage (120V or 240V), But the most popular smart thermostats are designed for low-voltage (24V) HVAC systems(see official compatibility here). Models like Nest and Ecobee simply don’t work with baseboard heat. Trying to force compatibility could damage your wiring—or worse.
This difference makes them incompatible. Most smart thermostats also require a C-wire (common wire) for power(see what C-wire is and why you need), which is typically absent in baseboard setups.
In short: you need a smart thermostat made for high-voltage systems.
3. What to Look for in a Smart Thermostat for Baseboard Heaters
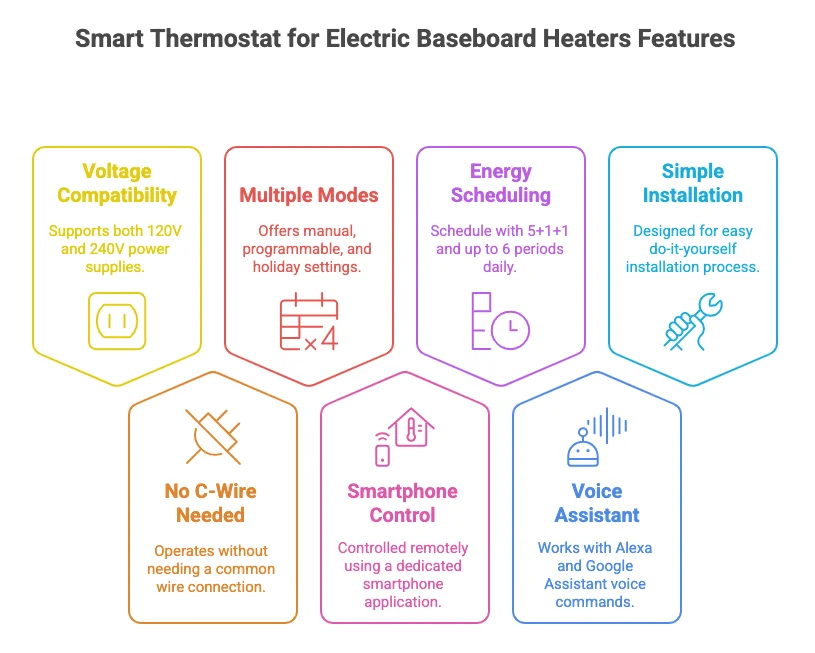
To modernize your heating without costly rewiring, look for these features:
- Line voltage compatibility (120V/240V)
- No C-wire required
- Manual + programmable + holiday modes
- Remote control via smartphone app
- Energy-saving scheduling (5+1+1 with up to 6 periods/day)
- Voice control with Alexa or Google Assistant
- Easy DIY installation (compatible with US junction boxes)
4. Smart Thermostat Options for Baseboard Heaters in 2025
| Brand | Voltage Support | WiFi | App Control | Scheduling | Voice Control | Notes |
|---|---|---|---|---|---|---|
| EcoNet-BH | 120/240V | ✅ | ✅ SmartLife | ✅ 6 periods/day | ✅ Alexa/Google | Easy install, full smart features |
| Mysa | 120/240V | ✅ | ✅ | ✅ | ✅ | Well-known, pricier |
| Sinope | 120/240V | ✅ | ✅ | ✅ | ✅ | Requires hub |
| Nest/Ecobee | ❌ | ✅ | ✅ | ✅ | ✅ | Not compatible with line voltage |
5. Why the Grus Smart Thermostat for Electric Baseboard Heaters Is a Strong Choice
If you’re searching for a budget-friendly, highly functional smart thermostat for electric baseboard heater, EcoNet-BH has you covered. Here’s why:
🧠 Smarter Control at Your Fingertips
- High accuracy (±1°F) for consistent room temperature
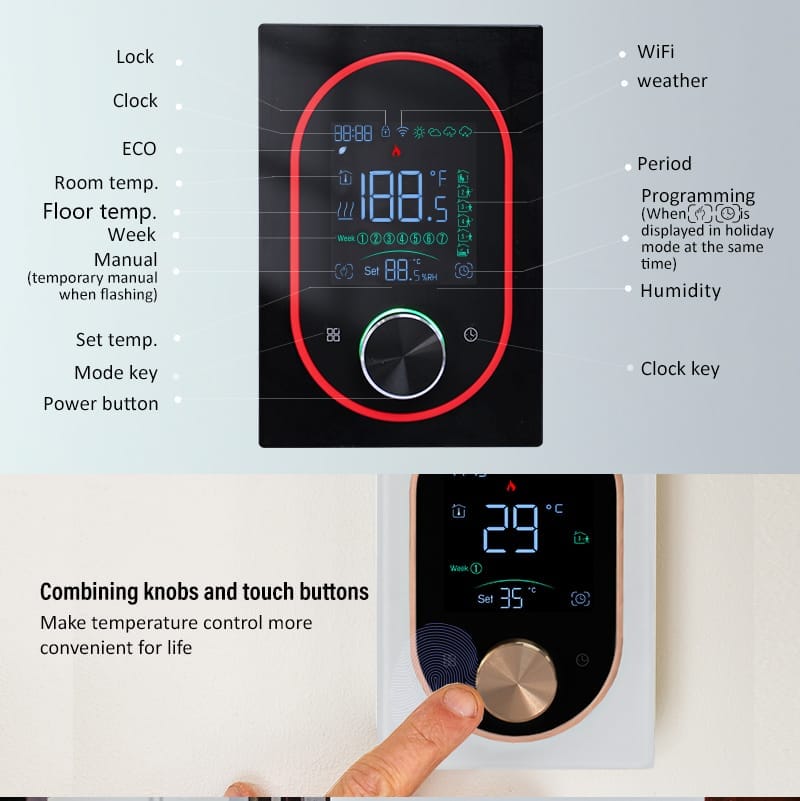
- Touchscreen + premium metal knob for easy adjustments
- View both room and floor temperatures in real time
📱 Complete App Control
- Connect via WiFi or Bluetooth
- Works with SmartLife app—no hub needed
- Create schedules, rename zones, and control multiple devices remotely
- Compatible with Alexa and Google Assistant
🔒 Built for Real Life
- Child lock & tamper protection—perfect for rentals or parents
- Open-window detection helps reduce wasted energy
- Memory saves your settings during power outages
- Programmable modes: manual, holiday, temporary, or weekly (6 periods/day)
🧩 Designed to Fit
- Works with 120V or 240V systems
- Fits standard U.S. wall boxes
- Tool-free patented buckle mounting
- Ultra-slim 13.1mm faceplate in Platinum or Black & Red
“I installed two in my Airbnb rentals. Now I control the temperature remotely, and guests can’t mess with the settings. Super easy.” — Mark L., British Columbia
With a visible wall thickness of just 13.1mm, it blends easily into modern interiors and is available in Platinum or Black & Red. The EcoNet-BH is one of the few truly compatible smart thermostats for electric baseboard heaters available today.
6. Where a Smart Thermostat Like Grus Truly Shines
💼 Rental Properties & Airbnb
- Lock temperatures to avoid high bills
- Monitor remotely between guests
🏠 Homes with Elderly Parents
- Keep loved ones comfortable and safe
- Adjust temperatures without driving over
🏕️ Vacation Homes & Cabins
- Preheat before arrival, save energy while away
- Control even in snowy remote areas
💡 Energy-Conscious Families
- Set energy-saving temperatures during work hours
- Use weekly schedules to avoid wasted heat
📌 FAQ: Smart Thermostats & Baseboard Heating
Do smart thermostats work with electric baseboard heaters?
Not all of them. Most popular smart thermostats are made for low-voltage (24V) systems and don’t support high-voltage (120V/240V) electric baseboard heaters. To control baseboard heating, you need a line-voltage compatible thermostat.
Can a Google Nest thermostat work with electric baseboard heaters?
No, the Nest thermostat is not compatible with line-voltage electric baseboard heaters. Nest is designed for central HVAC systems, and using it with baseboard heaters could be unsafe or simply not function.
What type of thermostat is typically used with electric baseboard heaters?
Line-voltage thermostats rated for 120V or 240V are used with electric baseboard heaters. These thermostats directly switch the power on and off to the heater, unlike low-voltage thermostats which control signals to a central unit.
Can I use one thermostat for multiple rooms?
You’ll need one per zone. But with app control, you can manage all zones in one place.
Final Thoughts: Upgrade the Right Way
Baseboard heaters still have their place—but your thermostat doesn’t have to stay in the 90s. Whether you’re managing a rental, caring for family, or just want to lower your bills, a smart thermostat designed for electric baseboard systems can make all the difference.
✅ Compatible.
✅ Affordable.
✅ Truly smart.
🚀 Ready to upgrade your baseboard heating?
Try the Grus EcoNet-BH Smart Thermostat Today →
Want the full compatibility and product comparison guide?→[Check our solution page for smart baseboard thermostats]
(Last updated: June 2025 – Reflects latest baseboard-compatible thermostat models.)
